Creating and Submitting Completion Report — Skylight Installer Guide
M2 — System installation

Creating and submitting
the Completion Report

Follow this guide to create a completion report in Site Capture, generate the full photo and data report, and upload it to the Skylight Lending portal as part of your M2 milestone documentation.
3
Sections
18
Steps
~15
Minutes
How this process works
Log into Site Capture Create completion report Submit photos Download report Upload to Skylight portal
8 steps
1
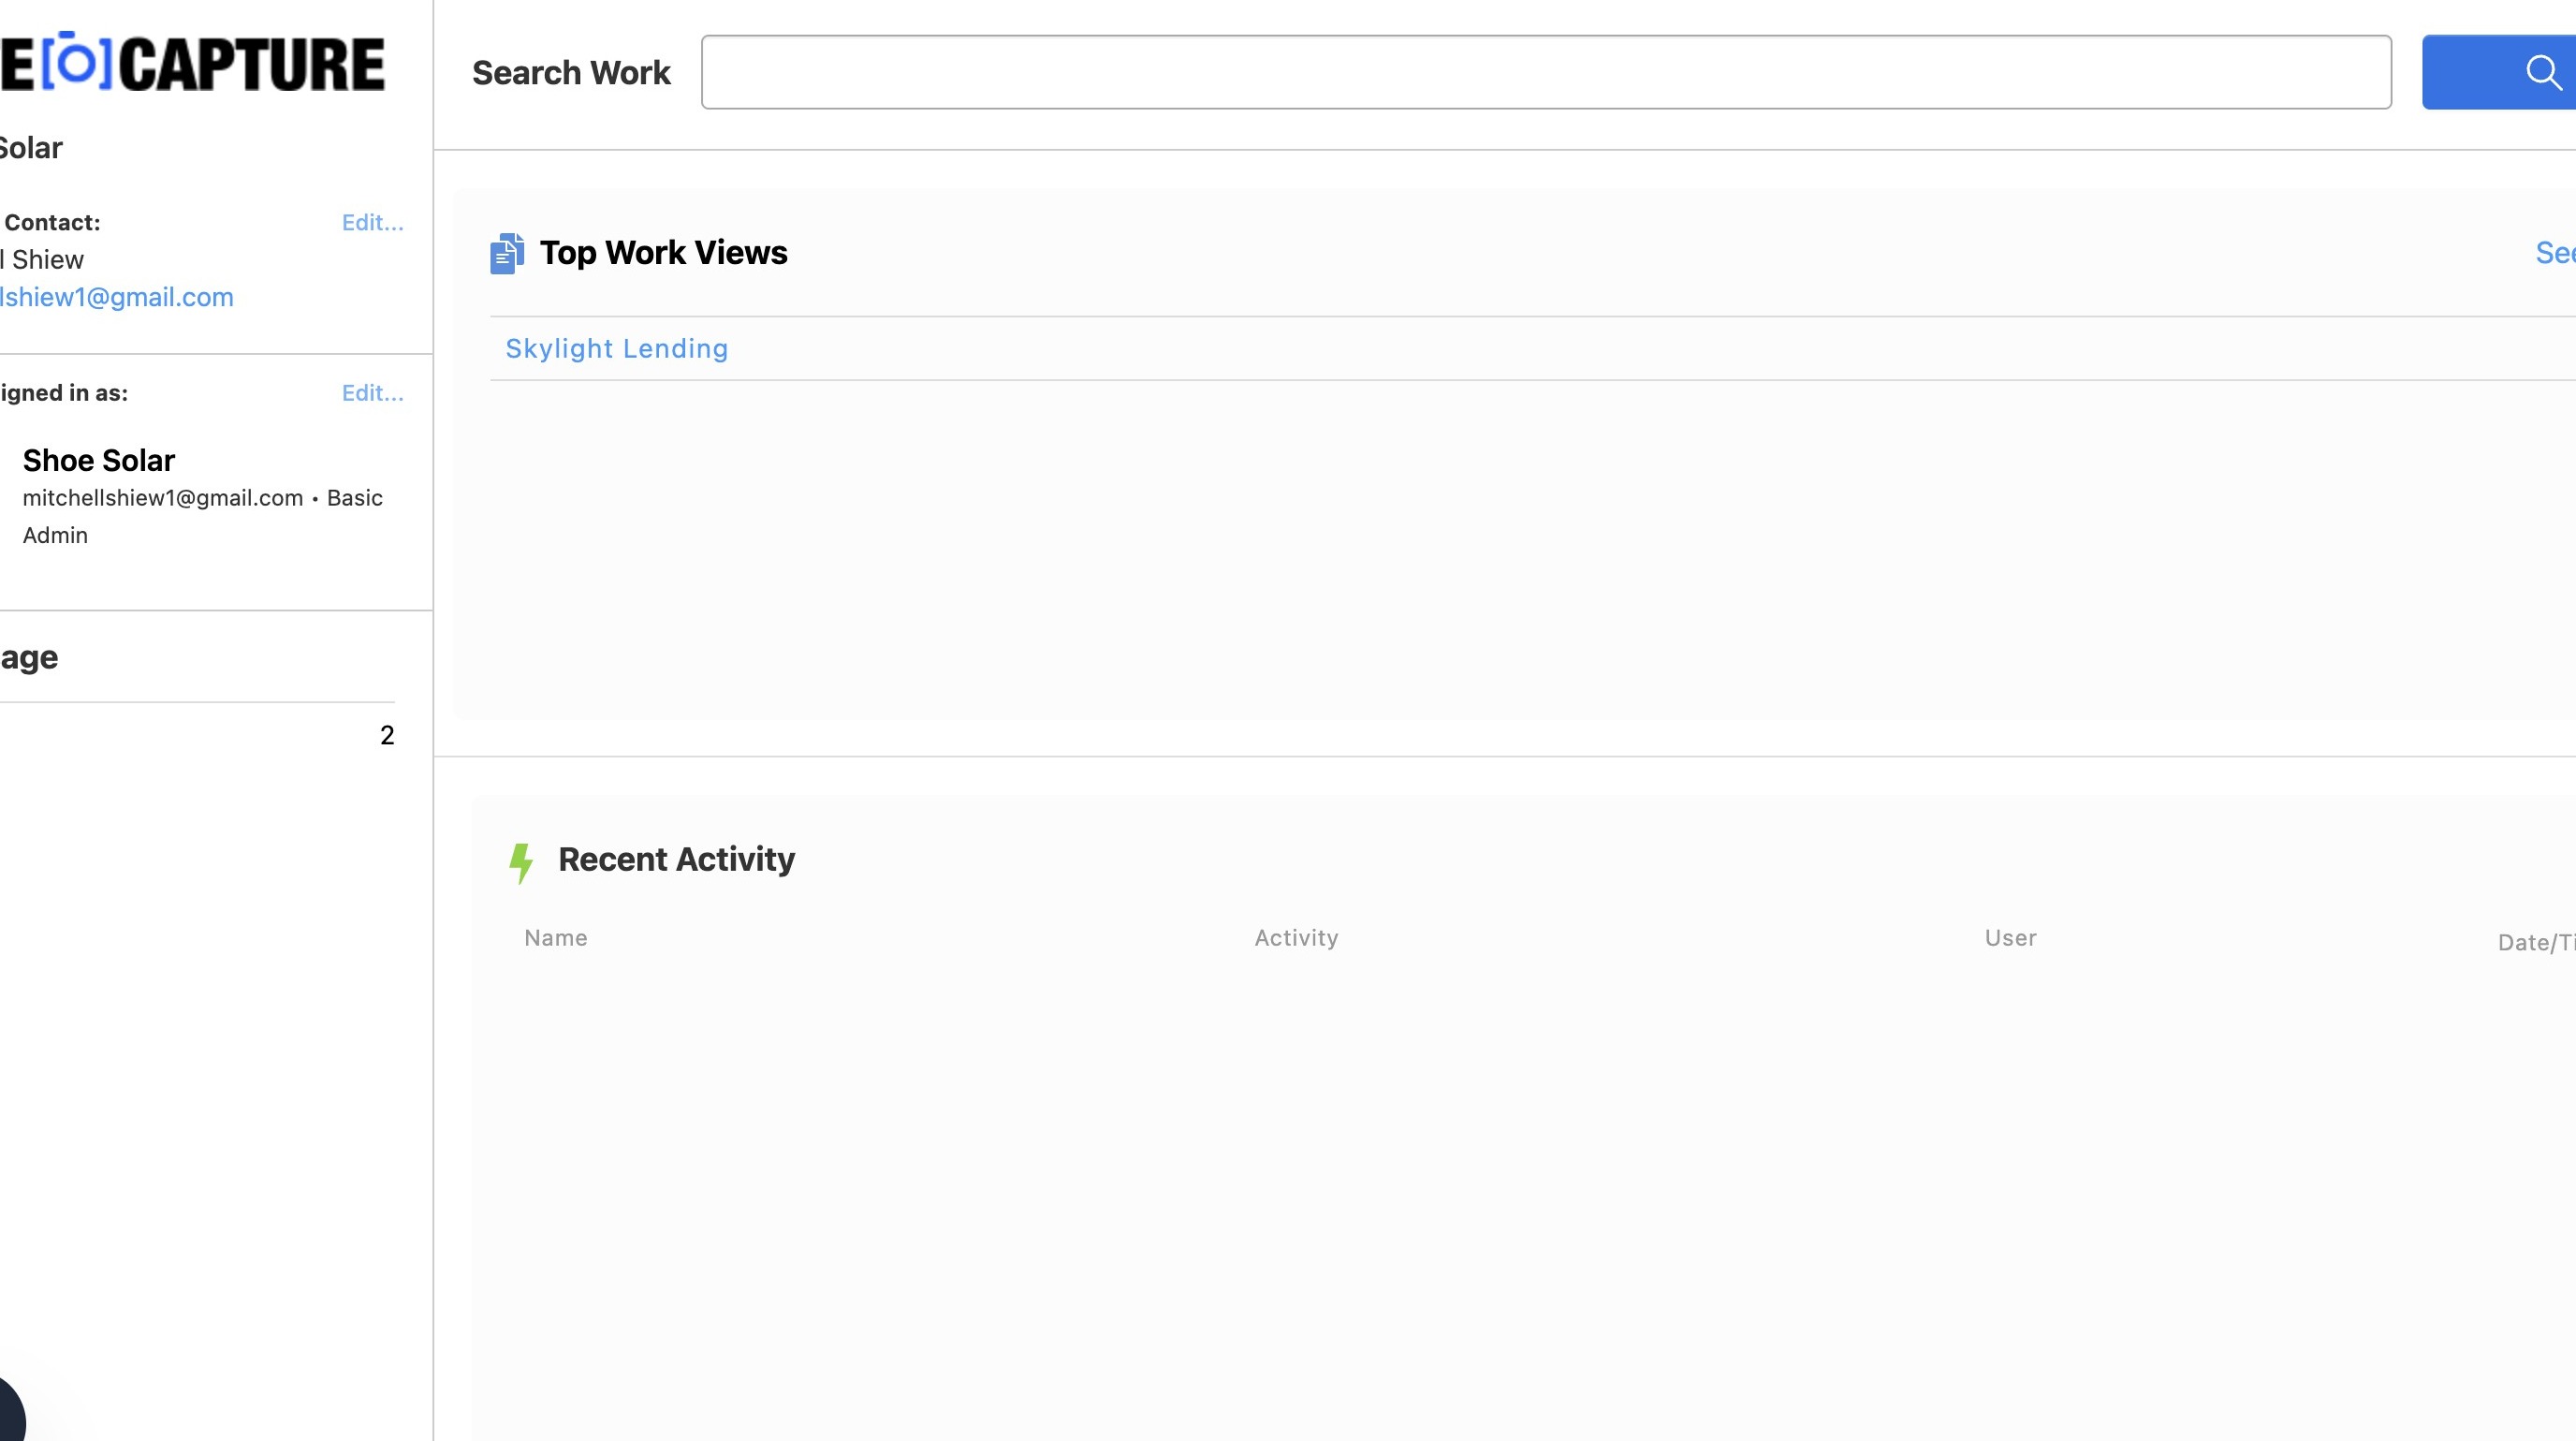
Log into Site Capture and navigate to the home screen
Open the Site Capture app or web portal and sign in with your credentials. You'll need to be on the home screen before navigating to the Skylight Lending workspace.
Site Capture home screen
2
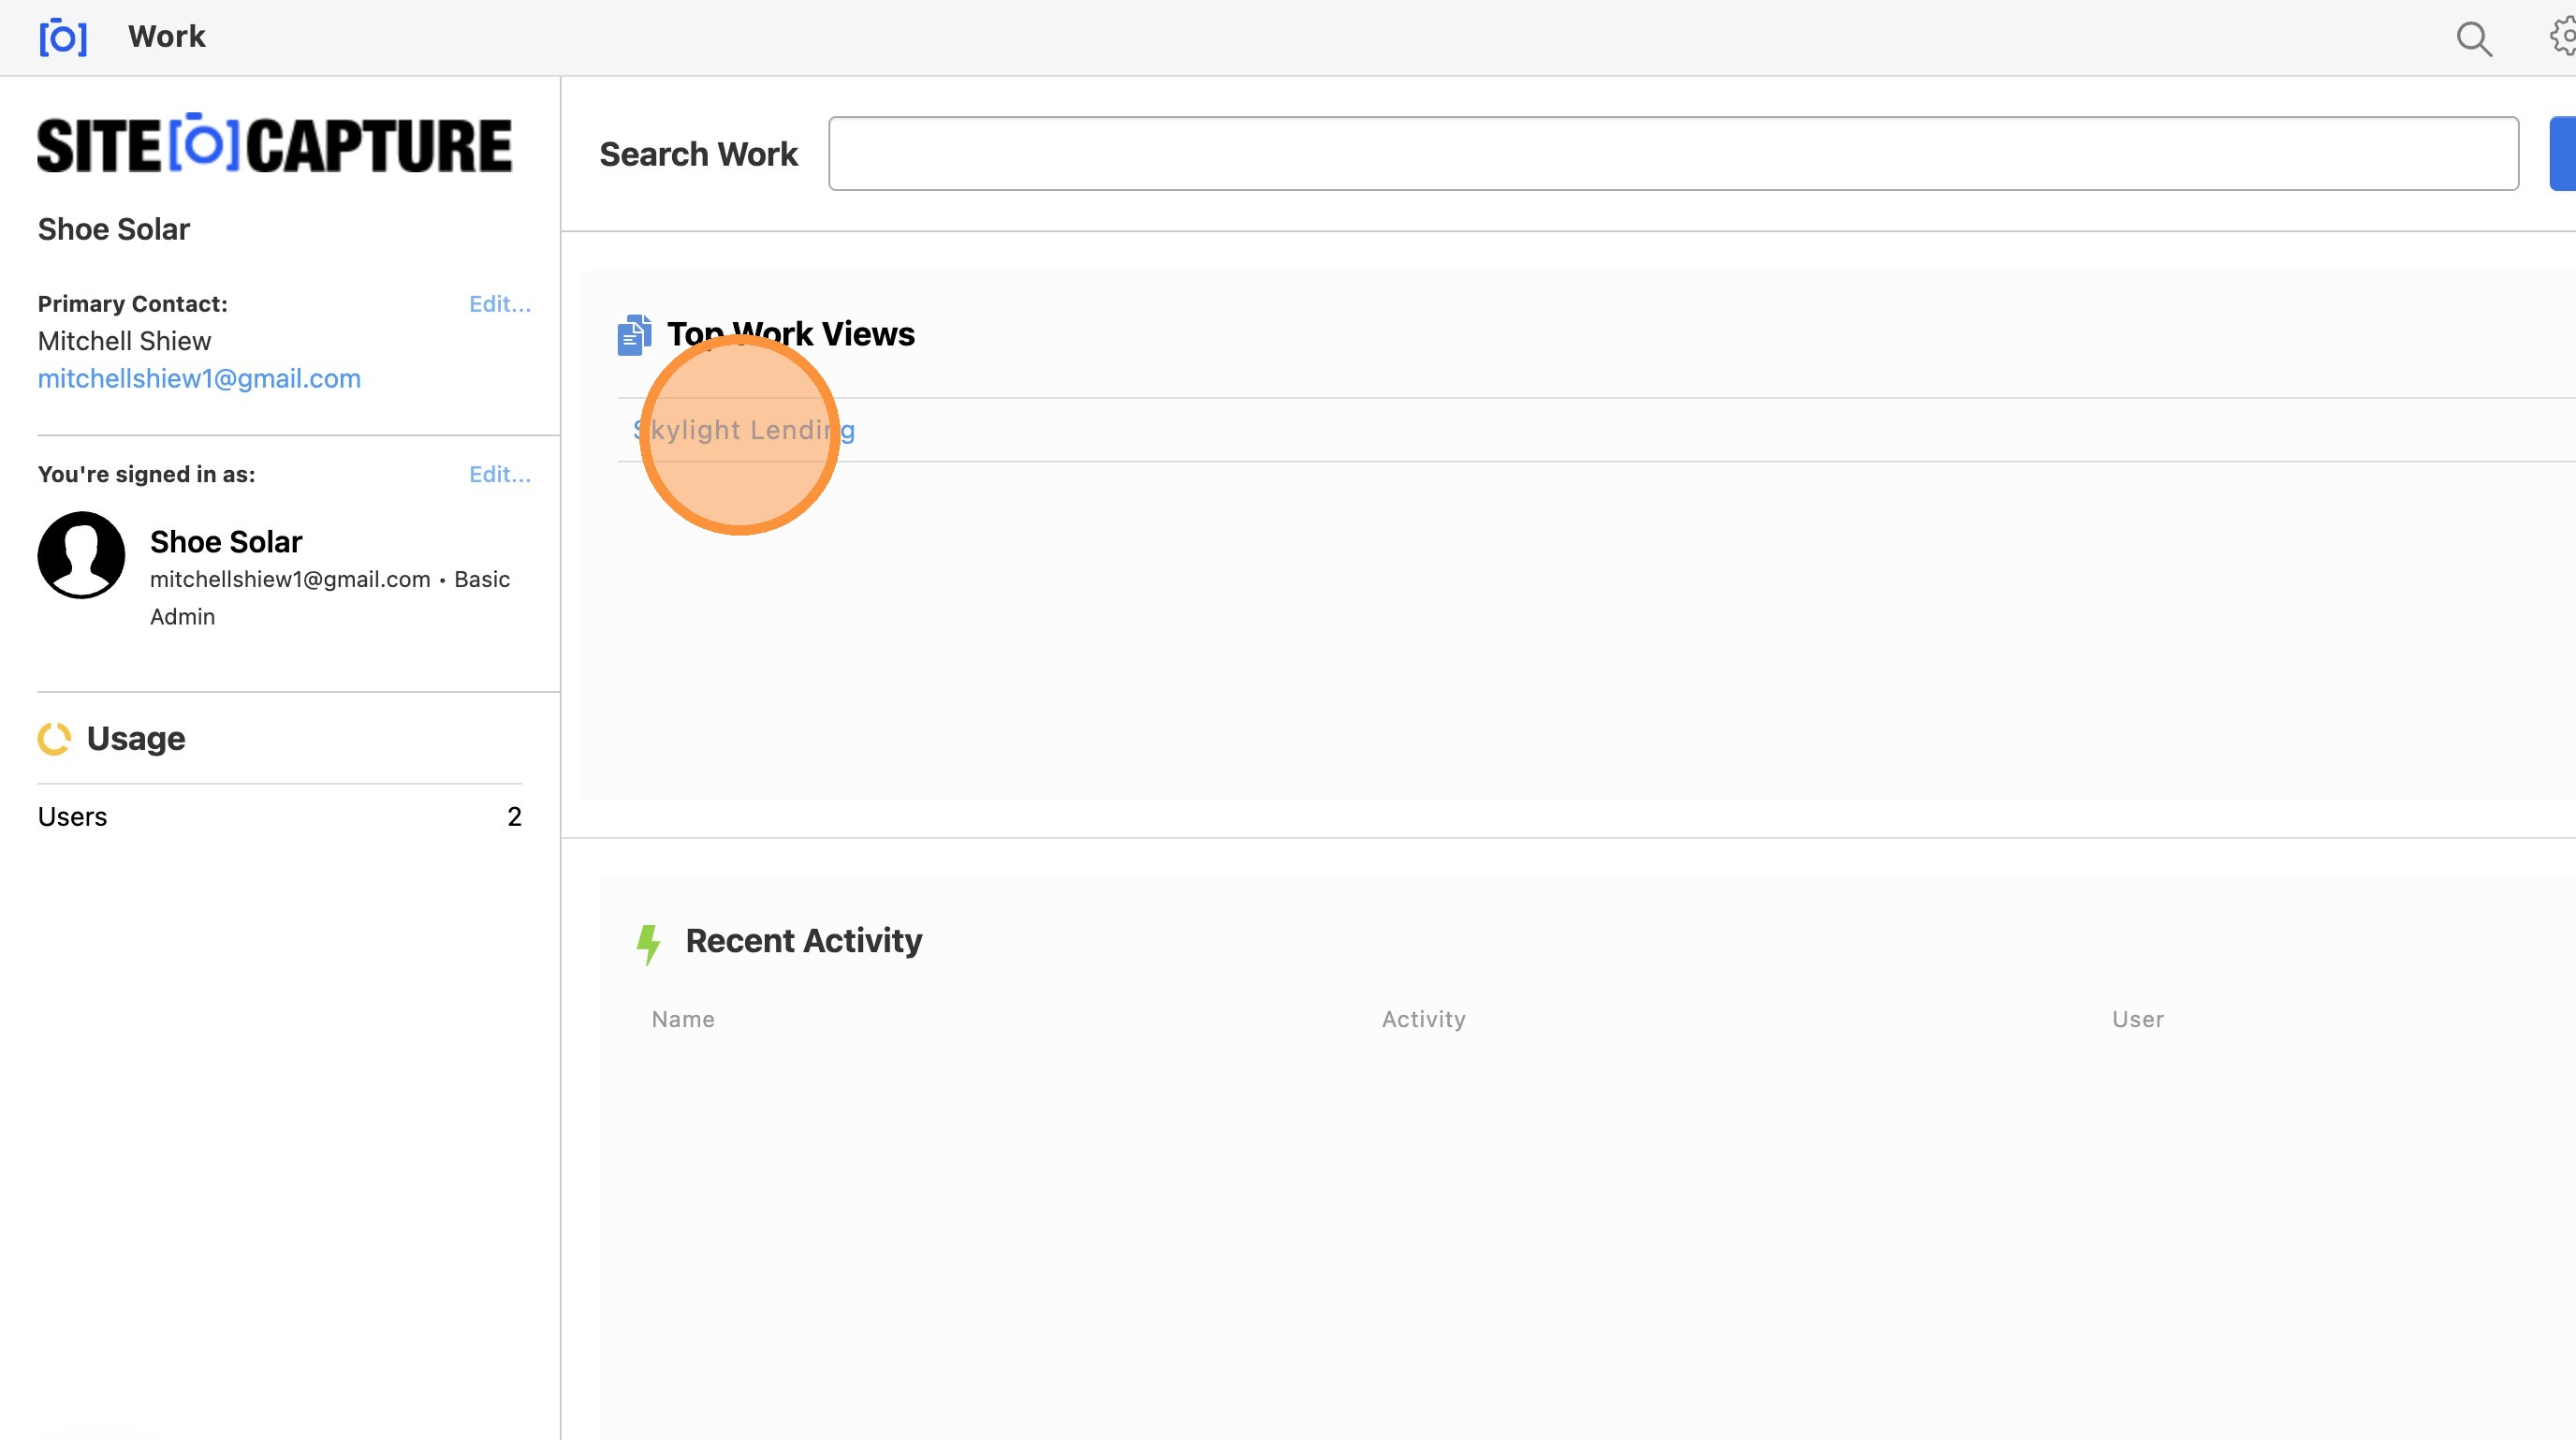
Click "Skylight Lending"
From the Site Capture home screen, click on the "Skylight Lending" workspace. This is the dedicated workspace where all Skylight Lending completion reports are created and managed.
Skylight Lending workspace
3
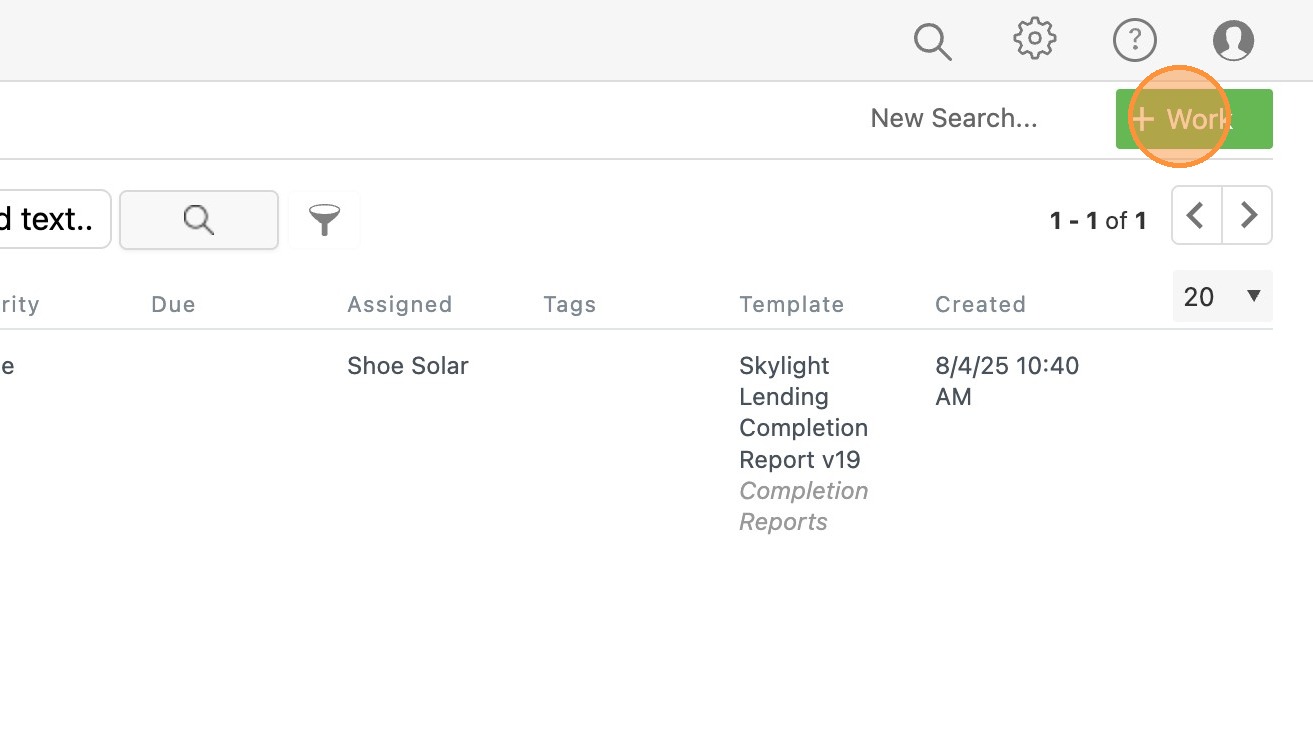
Click the "+ Work" button in the upper-left corner
Click the "+ Work" button to open the menu for creating a new work item. This is where you'll start a new completion report for your customer's installation.
+ Work button
4
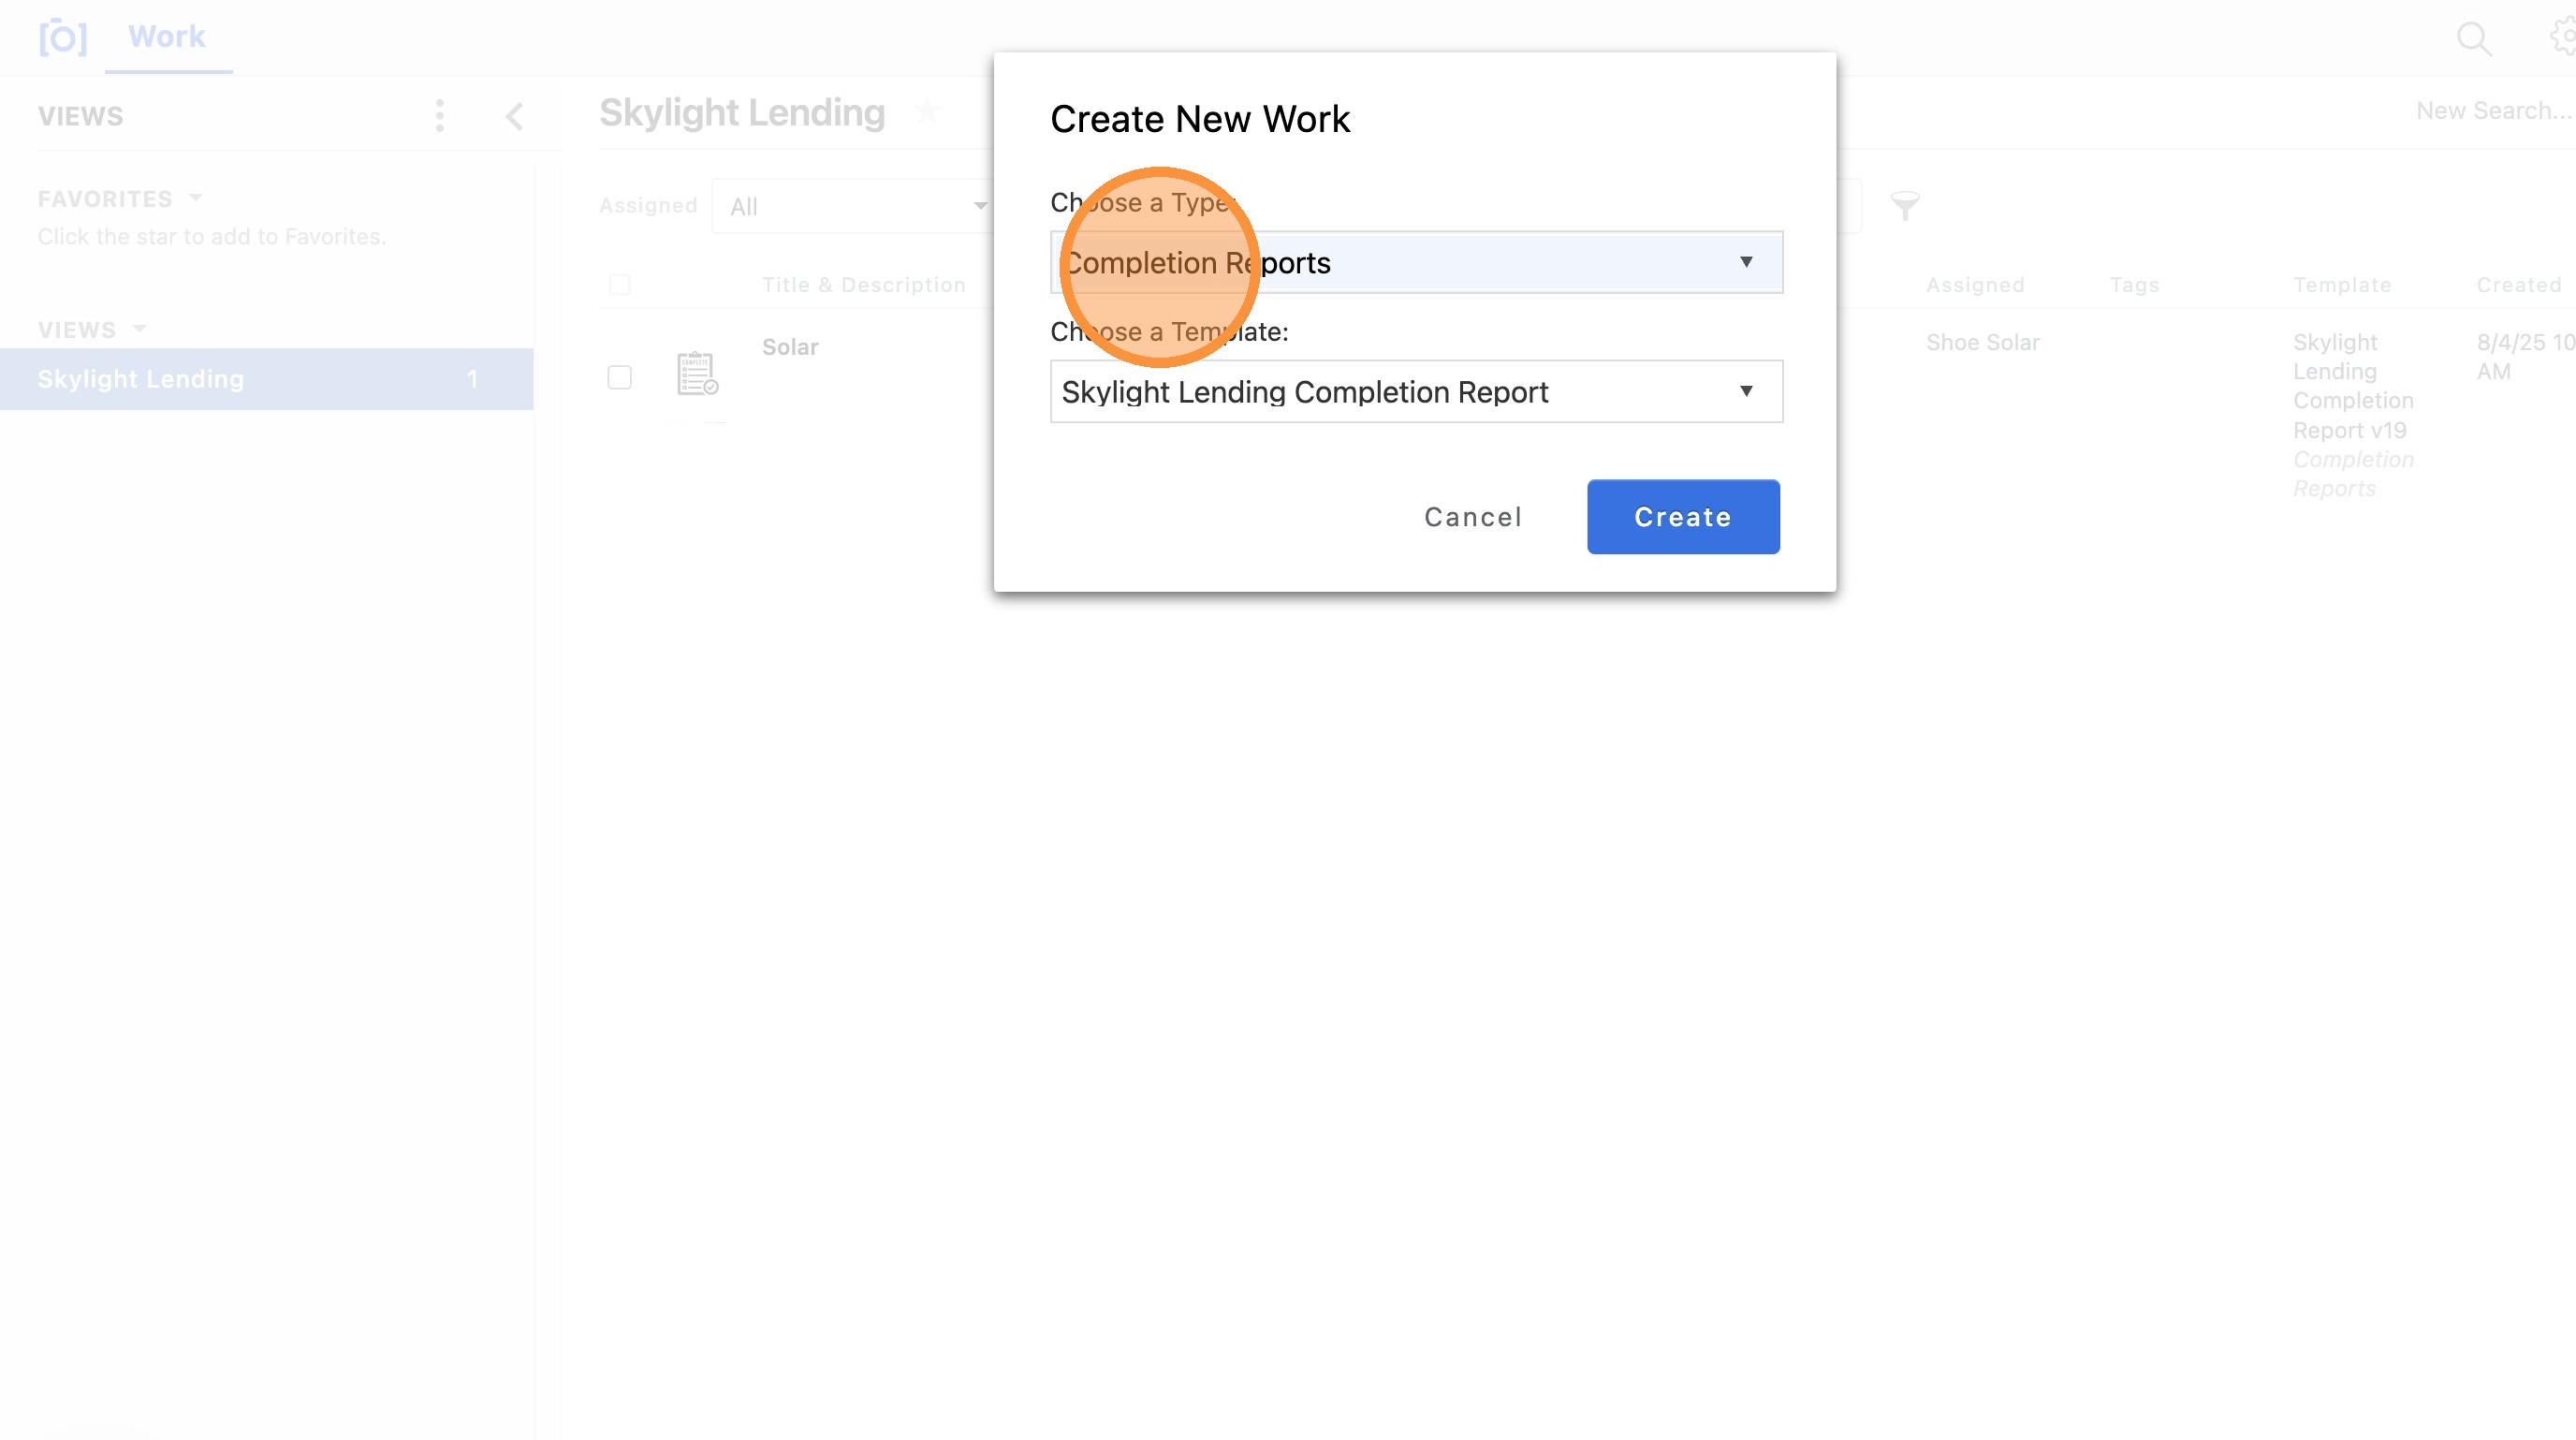
Select "Completion Reports"
From the dropdown menu, select "Completion Reports." This opens the completion report template that Skylight Lending requires for M2 photo documentation.
Completion Reports option
5
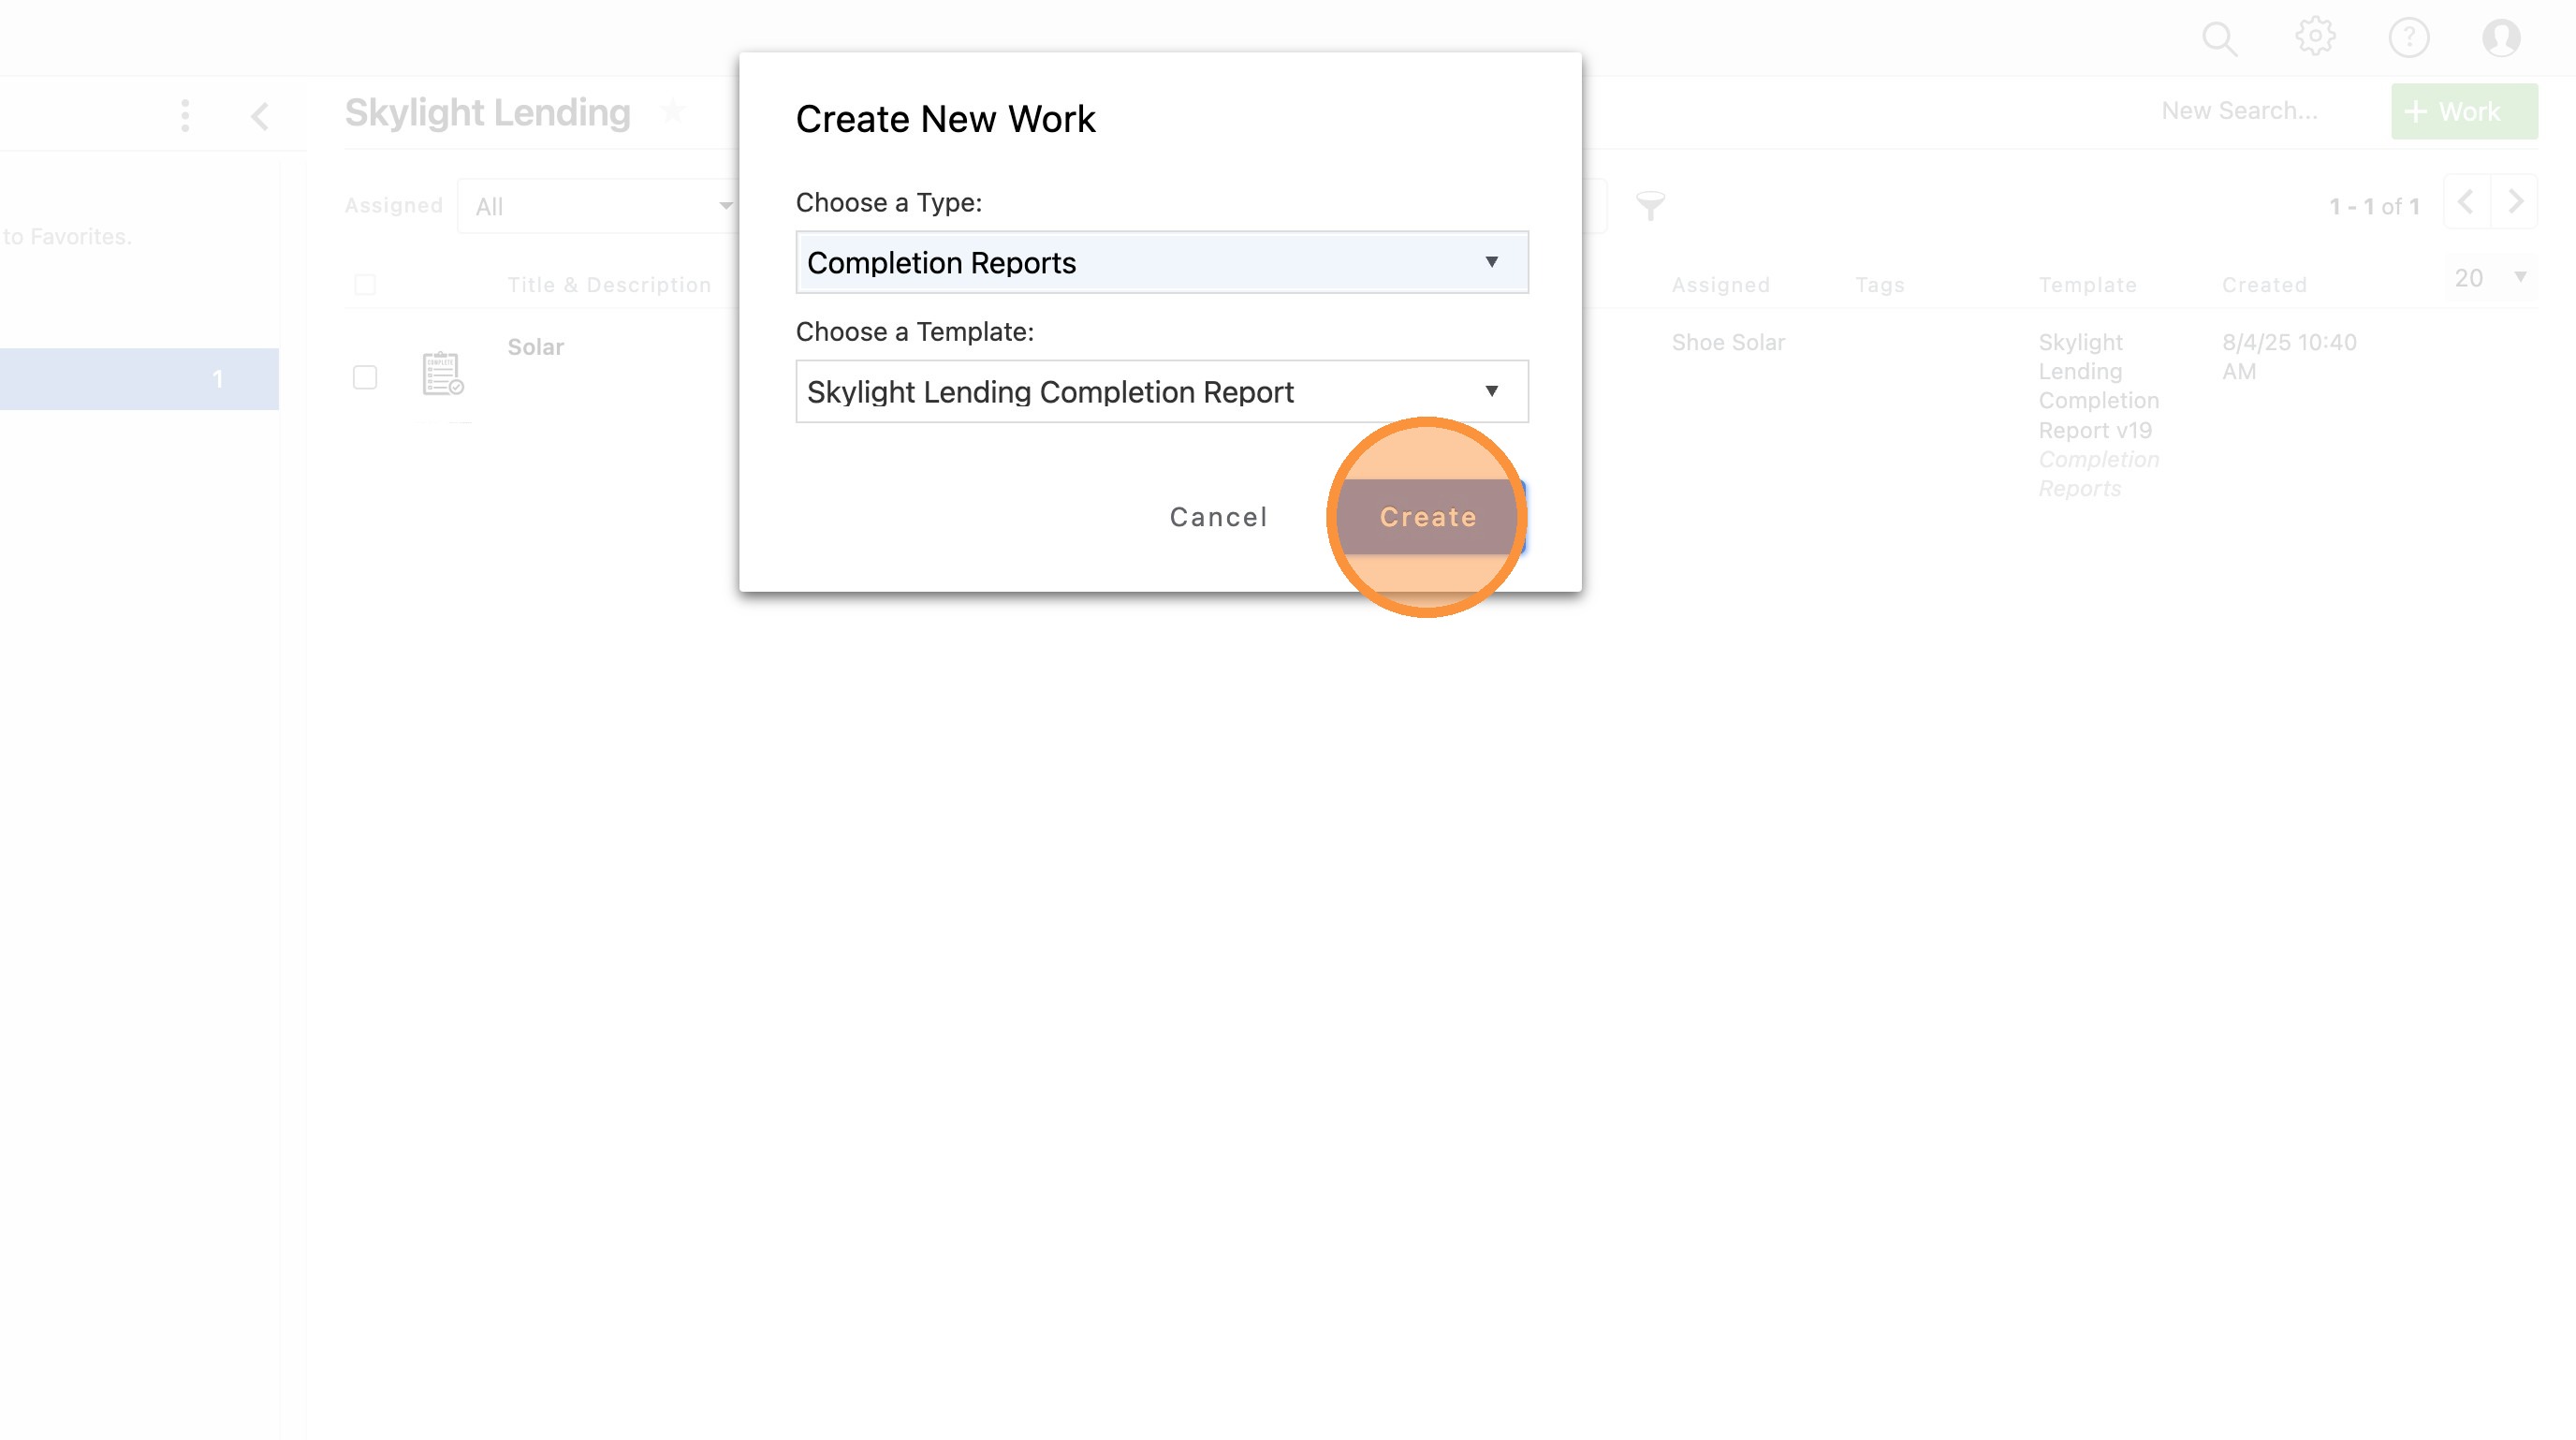
Click "Create"
Click "Create" to start a brand new completion report. You'll now fill in the installation details for this specific customer and job.
Create button
6
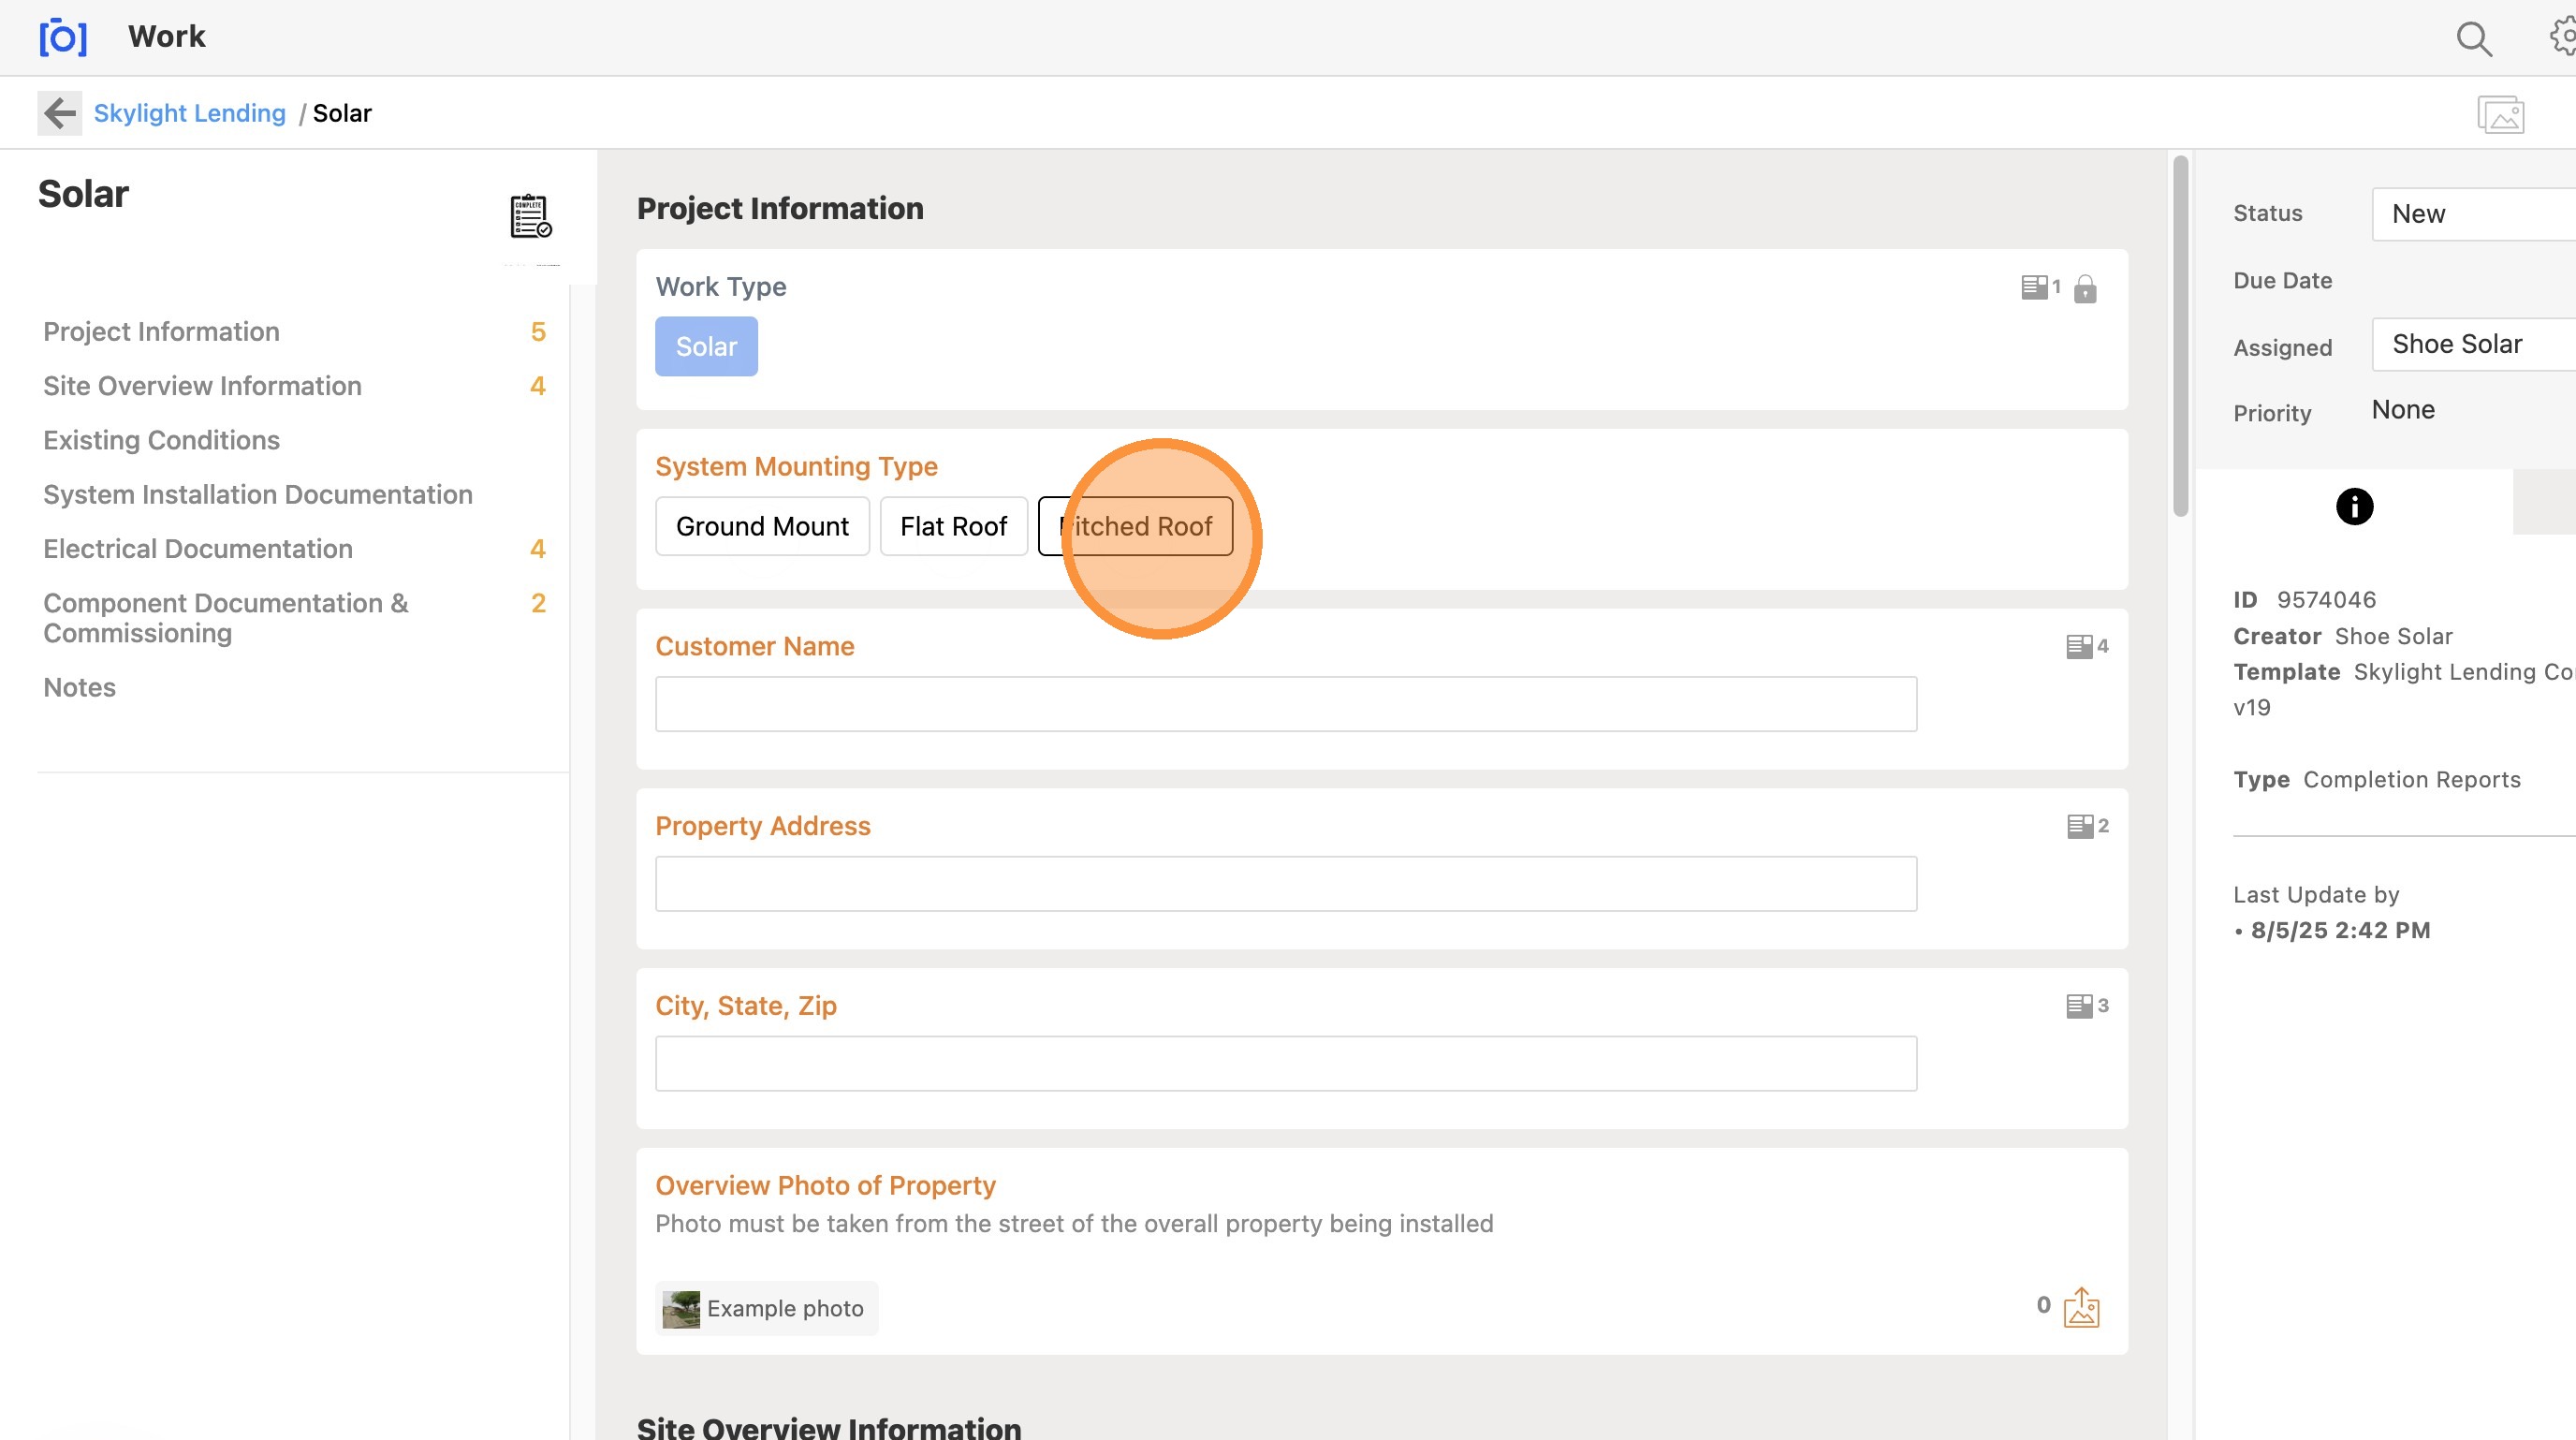
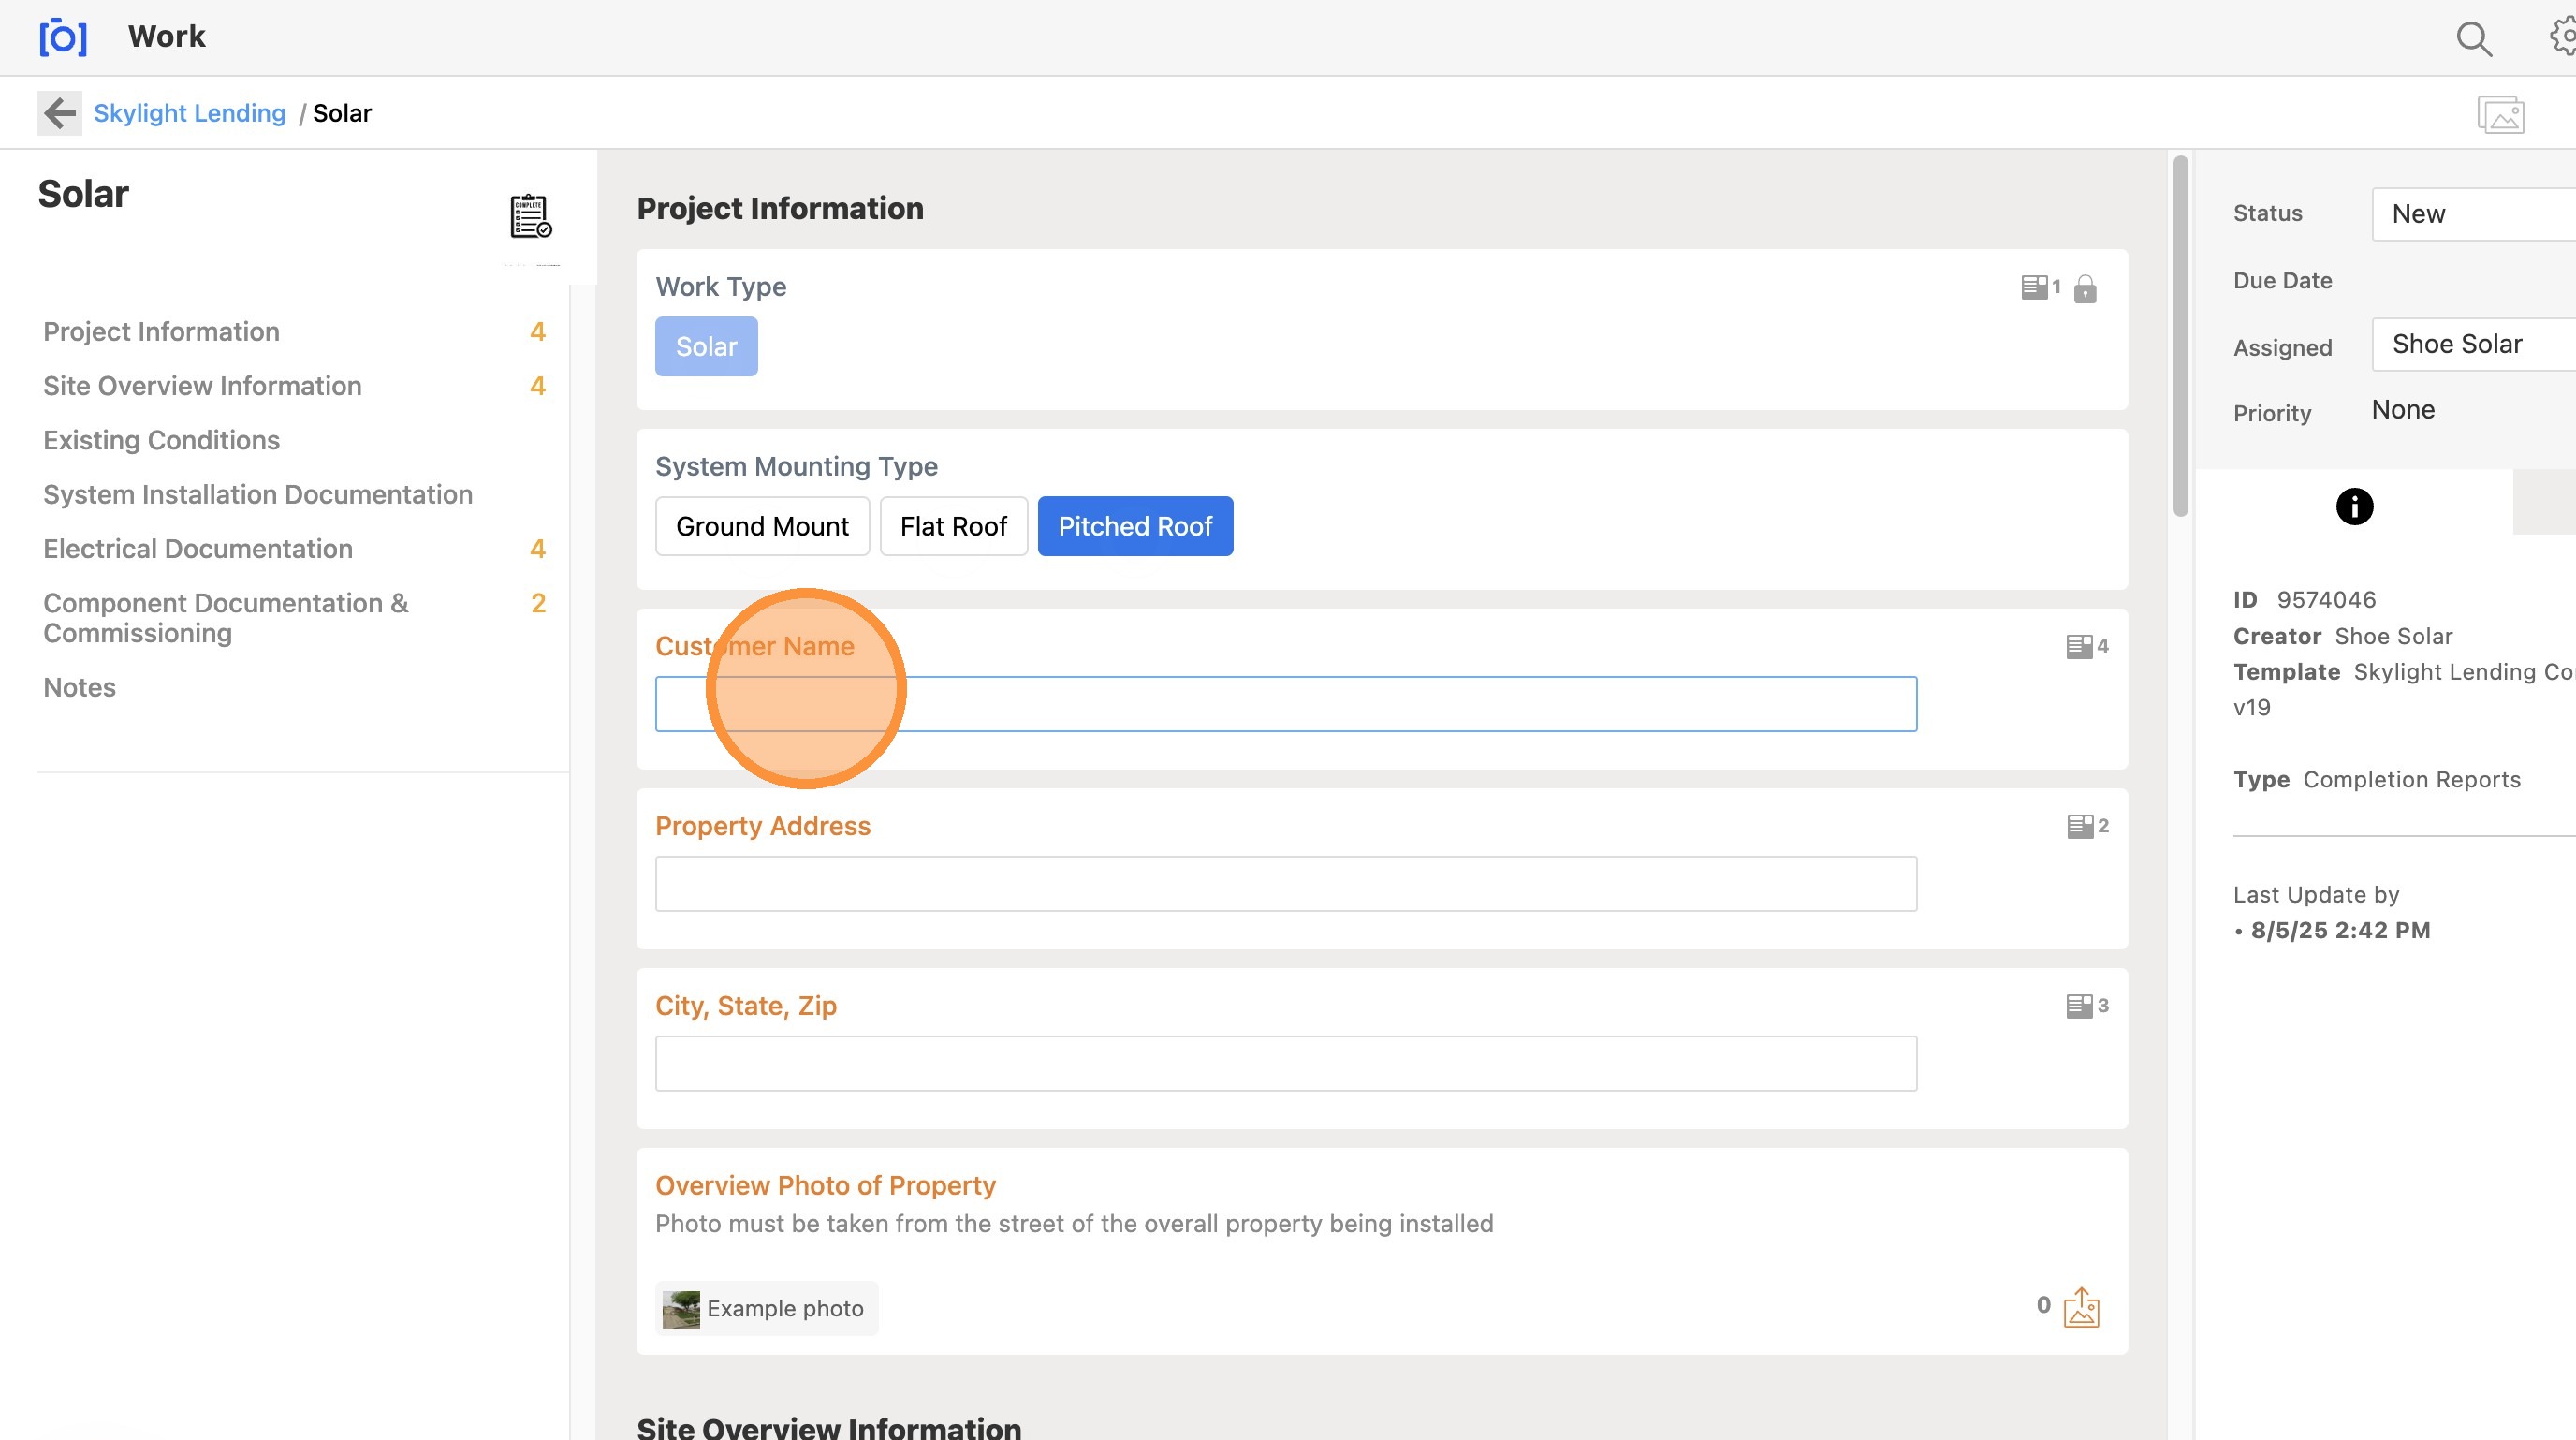
Select the mounting type
Choose the mounting type that matches how the solar panels were installed — for example, roof mount, ground mount, or carport. This determines which photo requirements apply to the report.
Mounting type selection
7
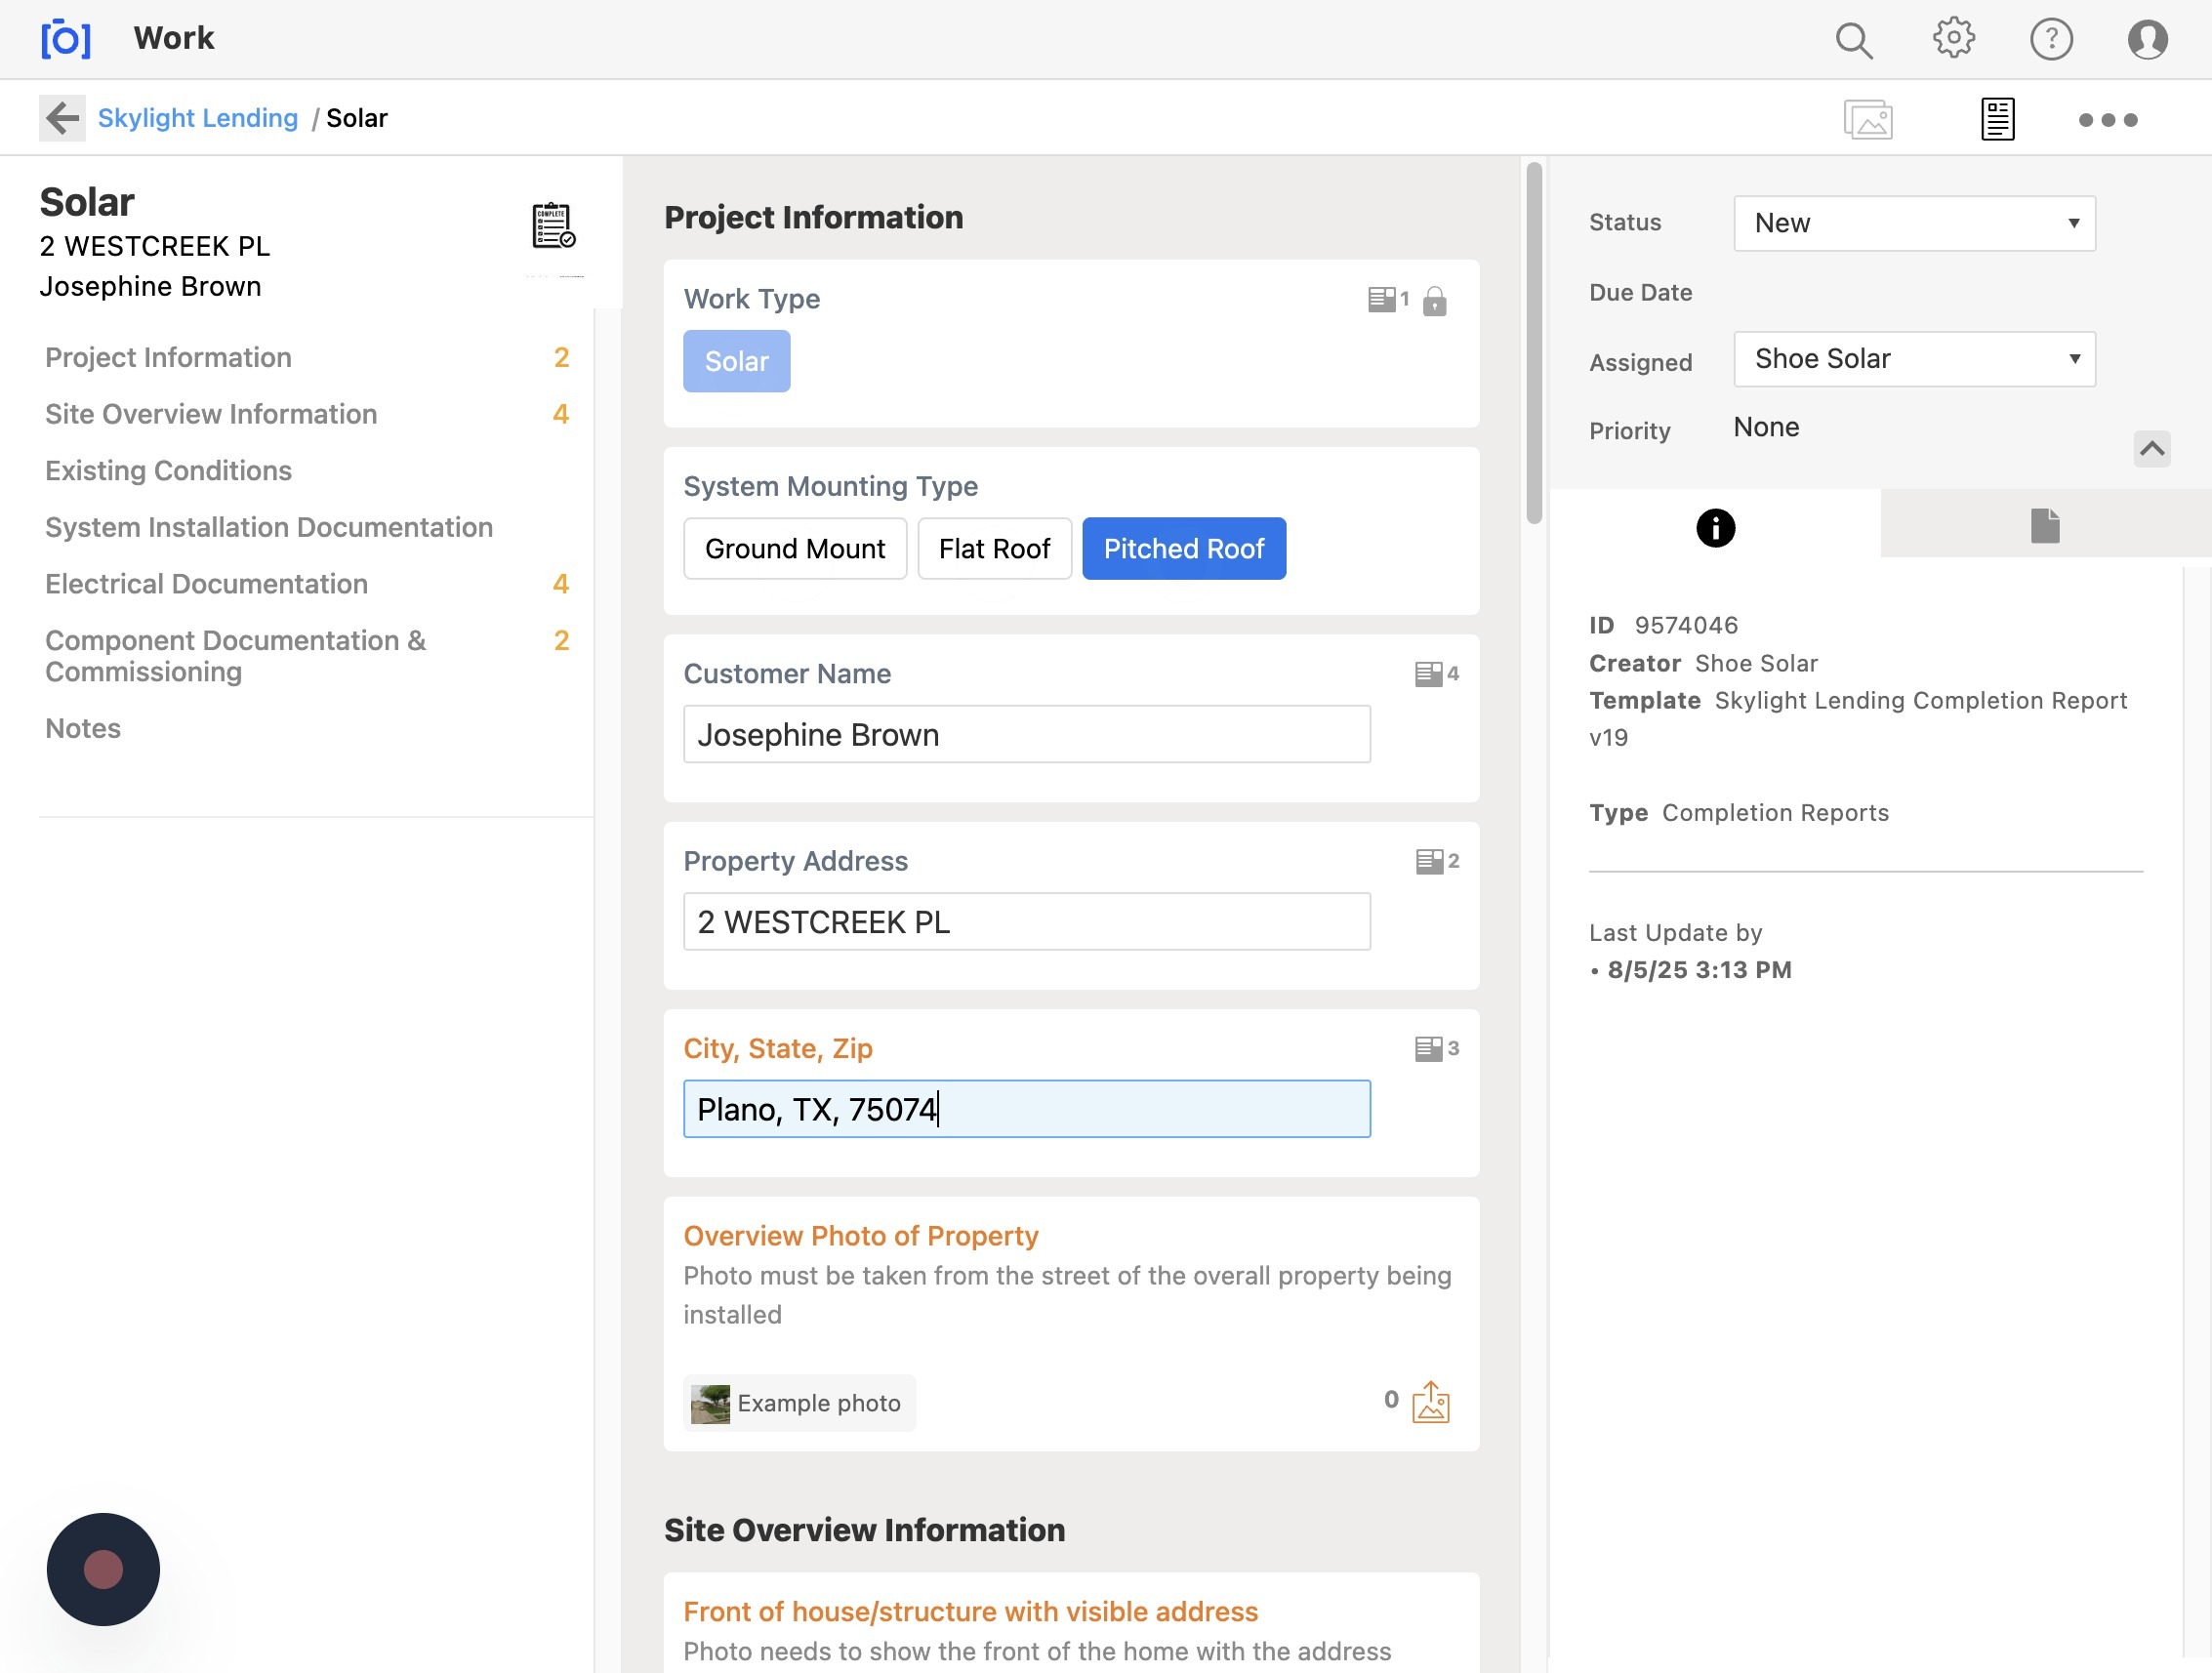
Enter the customer name exactly as it appears in the Installer Portal
Type the customer's full name exactly as it's listed in the Skylight Lending Installer Portal. The name must match — any discrepancy between Site Capture and the portal can cause the report to be rejected.
Customer name field
Names must match exactly

The customer name and property address you enter here must match the information in the Skylight Lending Installer Portal exactly. Even small differences — like a missing middle name or abbreviated street — can cause a mismatch and rejection.
8
Enter the property address, city, state, and zip exactly as it appears in the Installer Portal
Type the full property address exactly as it's listed in the Skylight Lending Installer Portal — including the same street format, city, state, and zip code.
Property address fields
5 steps
9
Submit all required installation photos using the System Photo Guide
Using the "System Photo Guide" as your reference, upload all required installation photos for this job. Make sure to add arrays as needed for multi-array systems. Every required photo must be present before generating the report.
Add arrays as needed

If the system has multiple arrays (e.g., panels on different roof faces), make sure you add each array in Site Capture and submit the required photos for each one. Missing array photos will result in an incomplete report.

🟠 Orange icons must be resolved before generating the report

Any item showing an orange icon in Site Capture has not yet been completed. You must upload a photo for every orange icon item before the report can be generated. Scan through all sections and resolve every orange icon before proceeding.
10
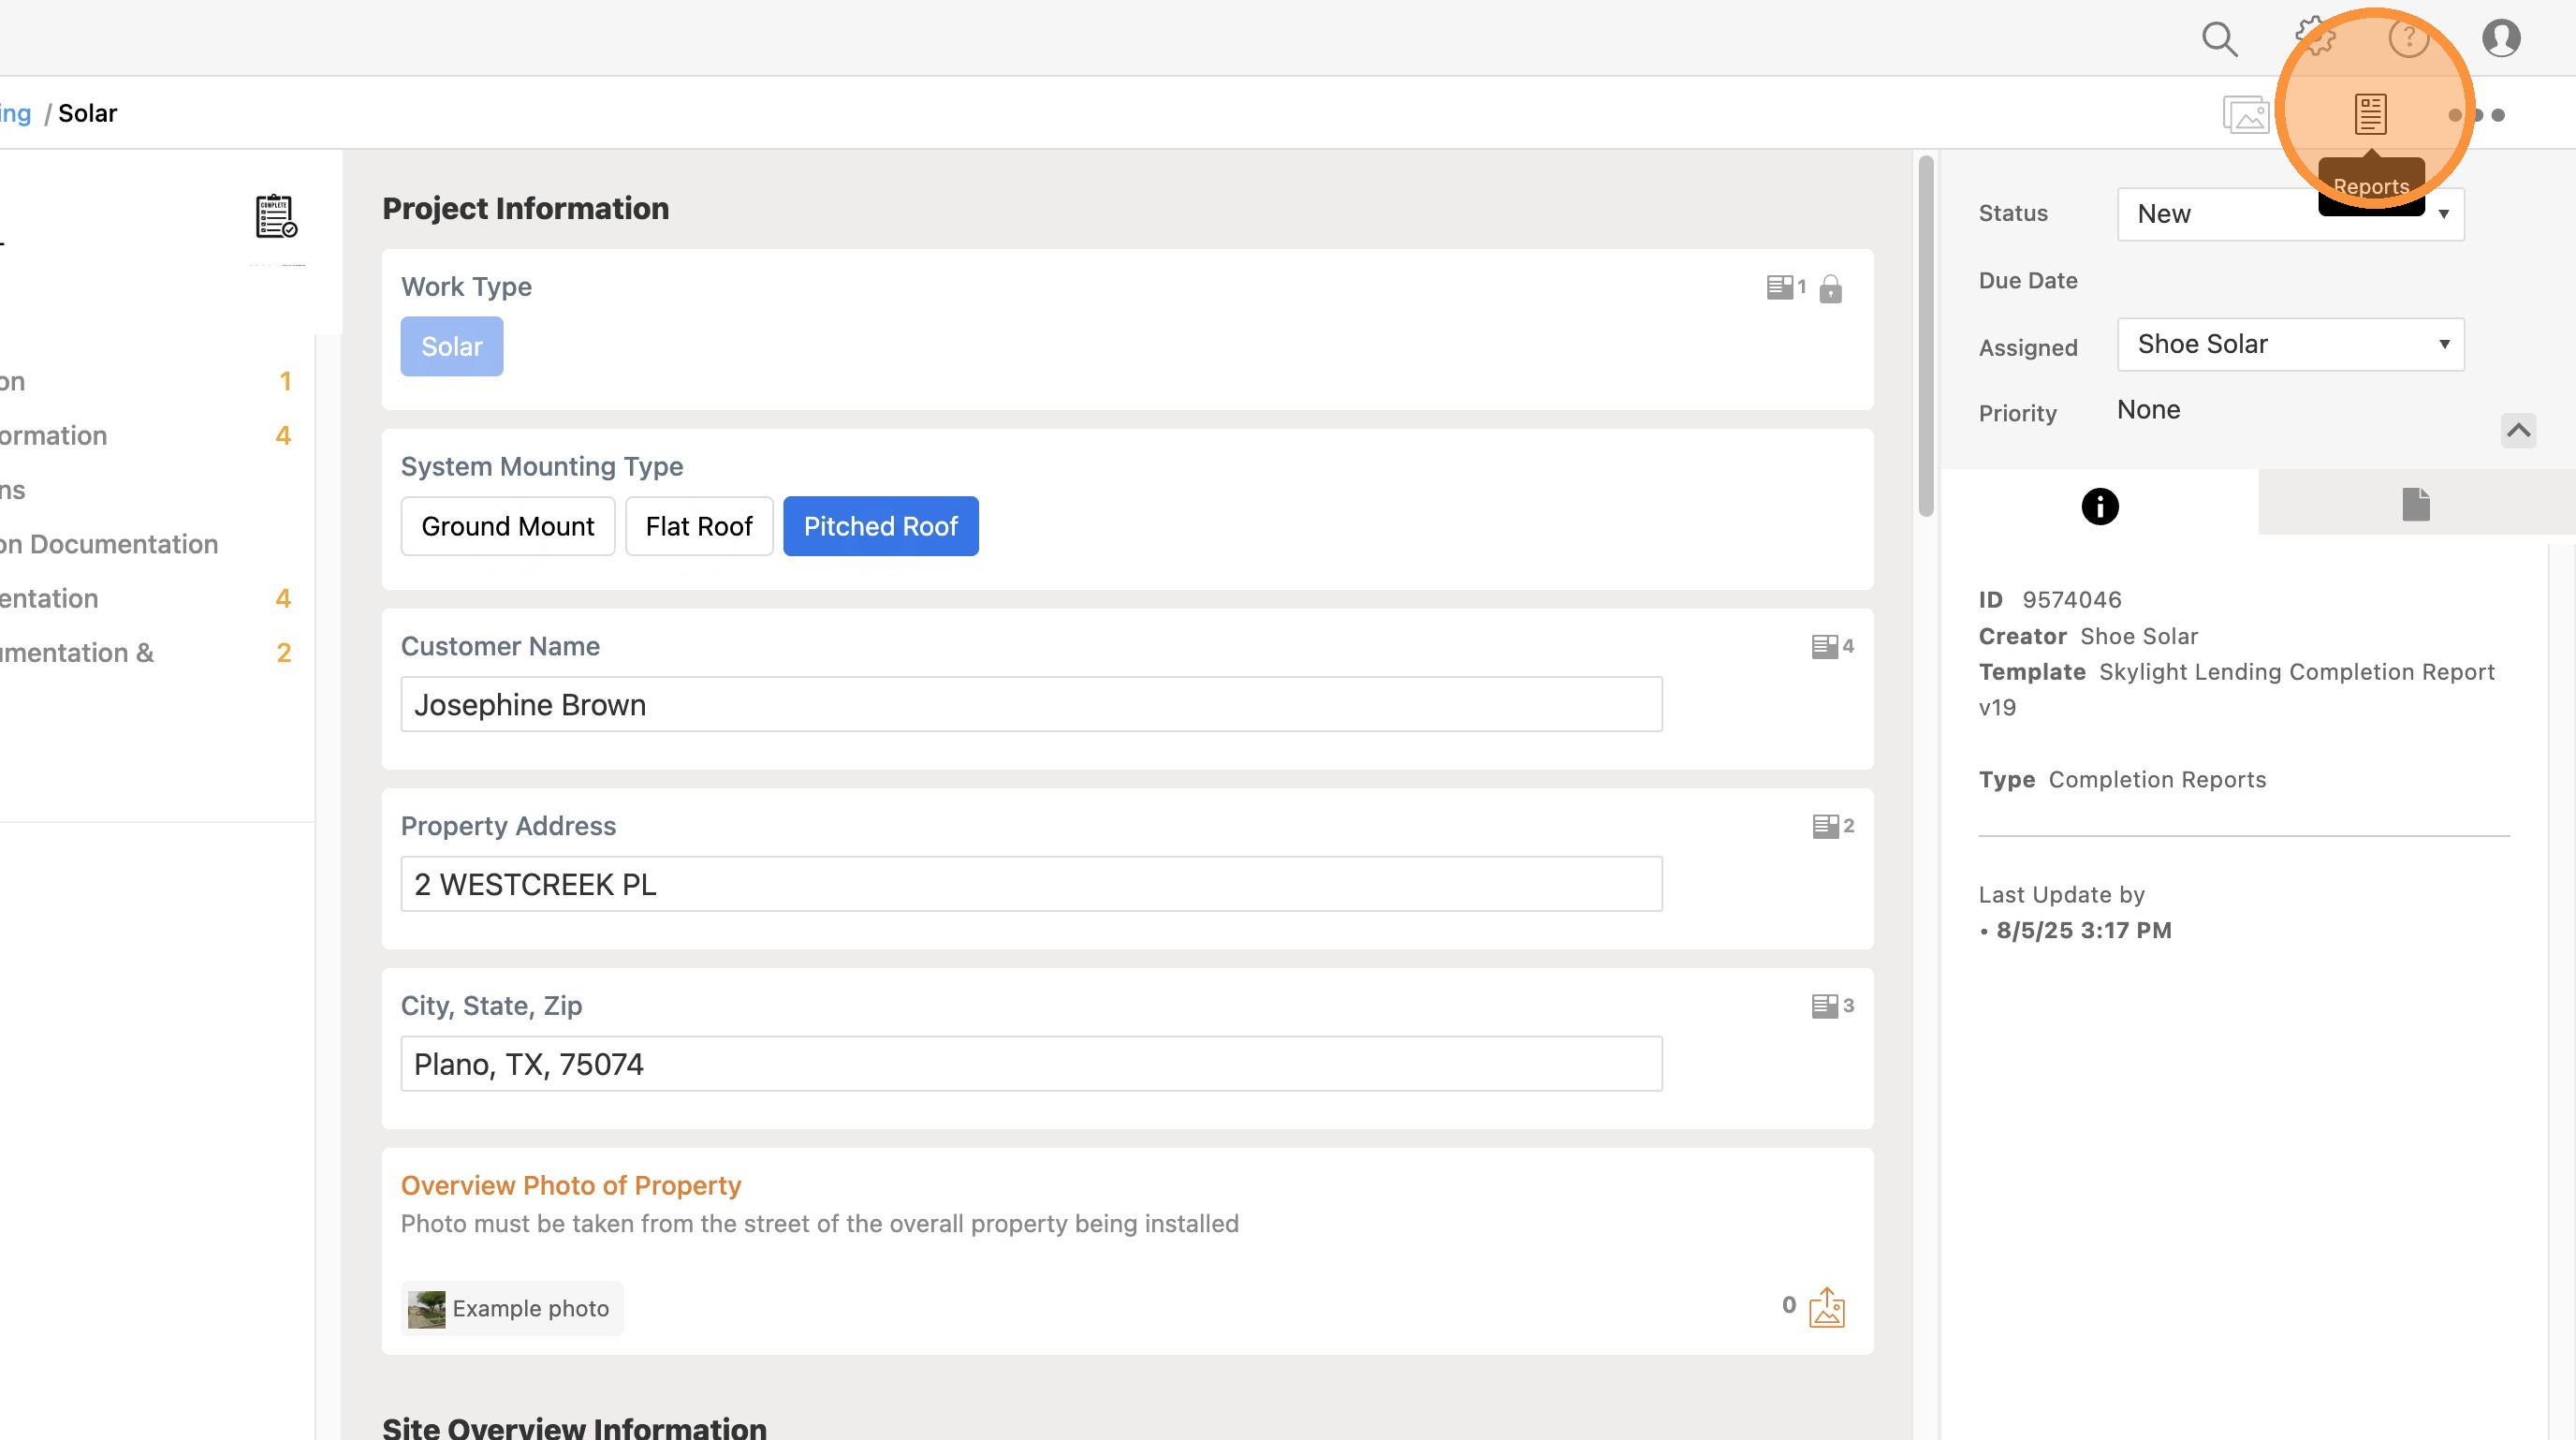
Click the "Reports" button
Once all photos have been submitted and all orange icons resolved, click the "Reports" button to open the report generation options.
Reports button
11
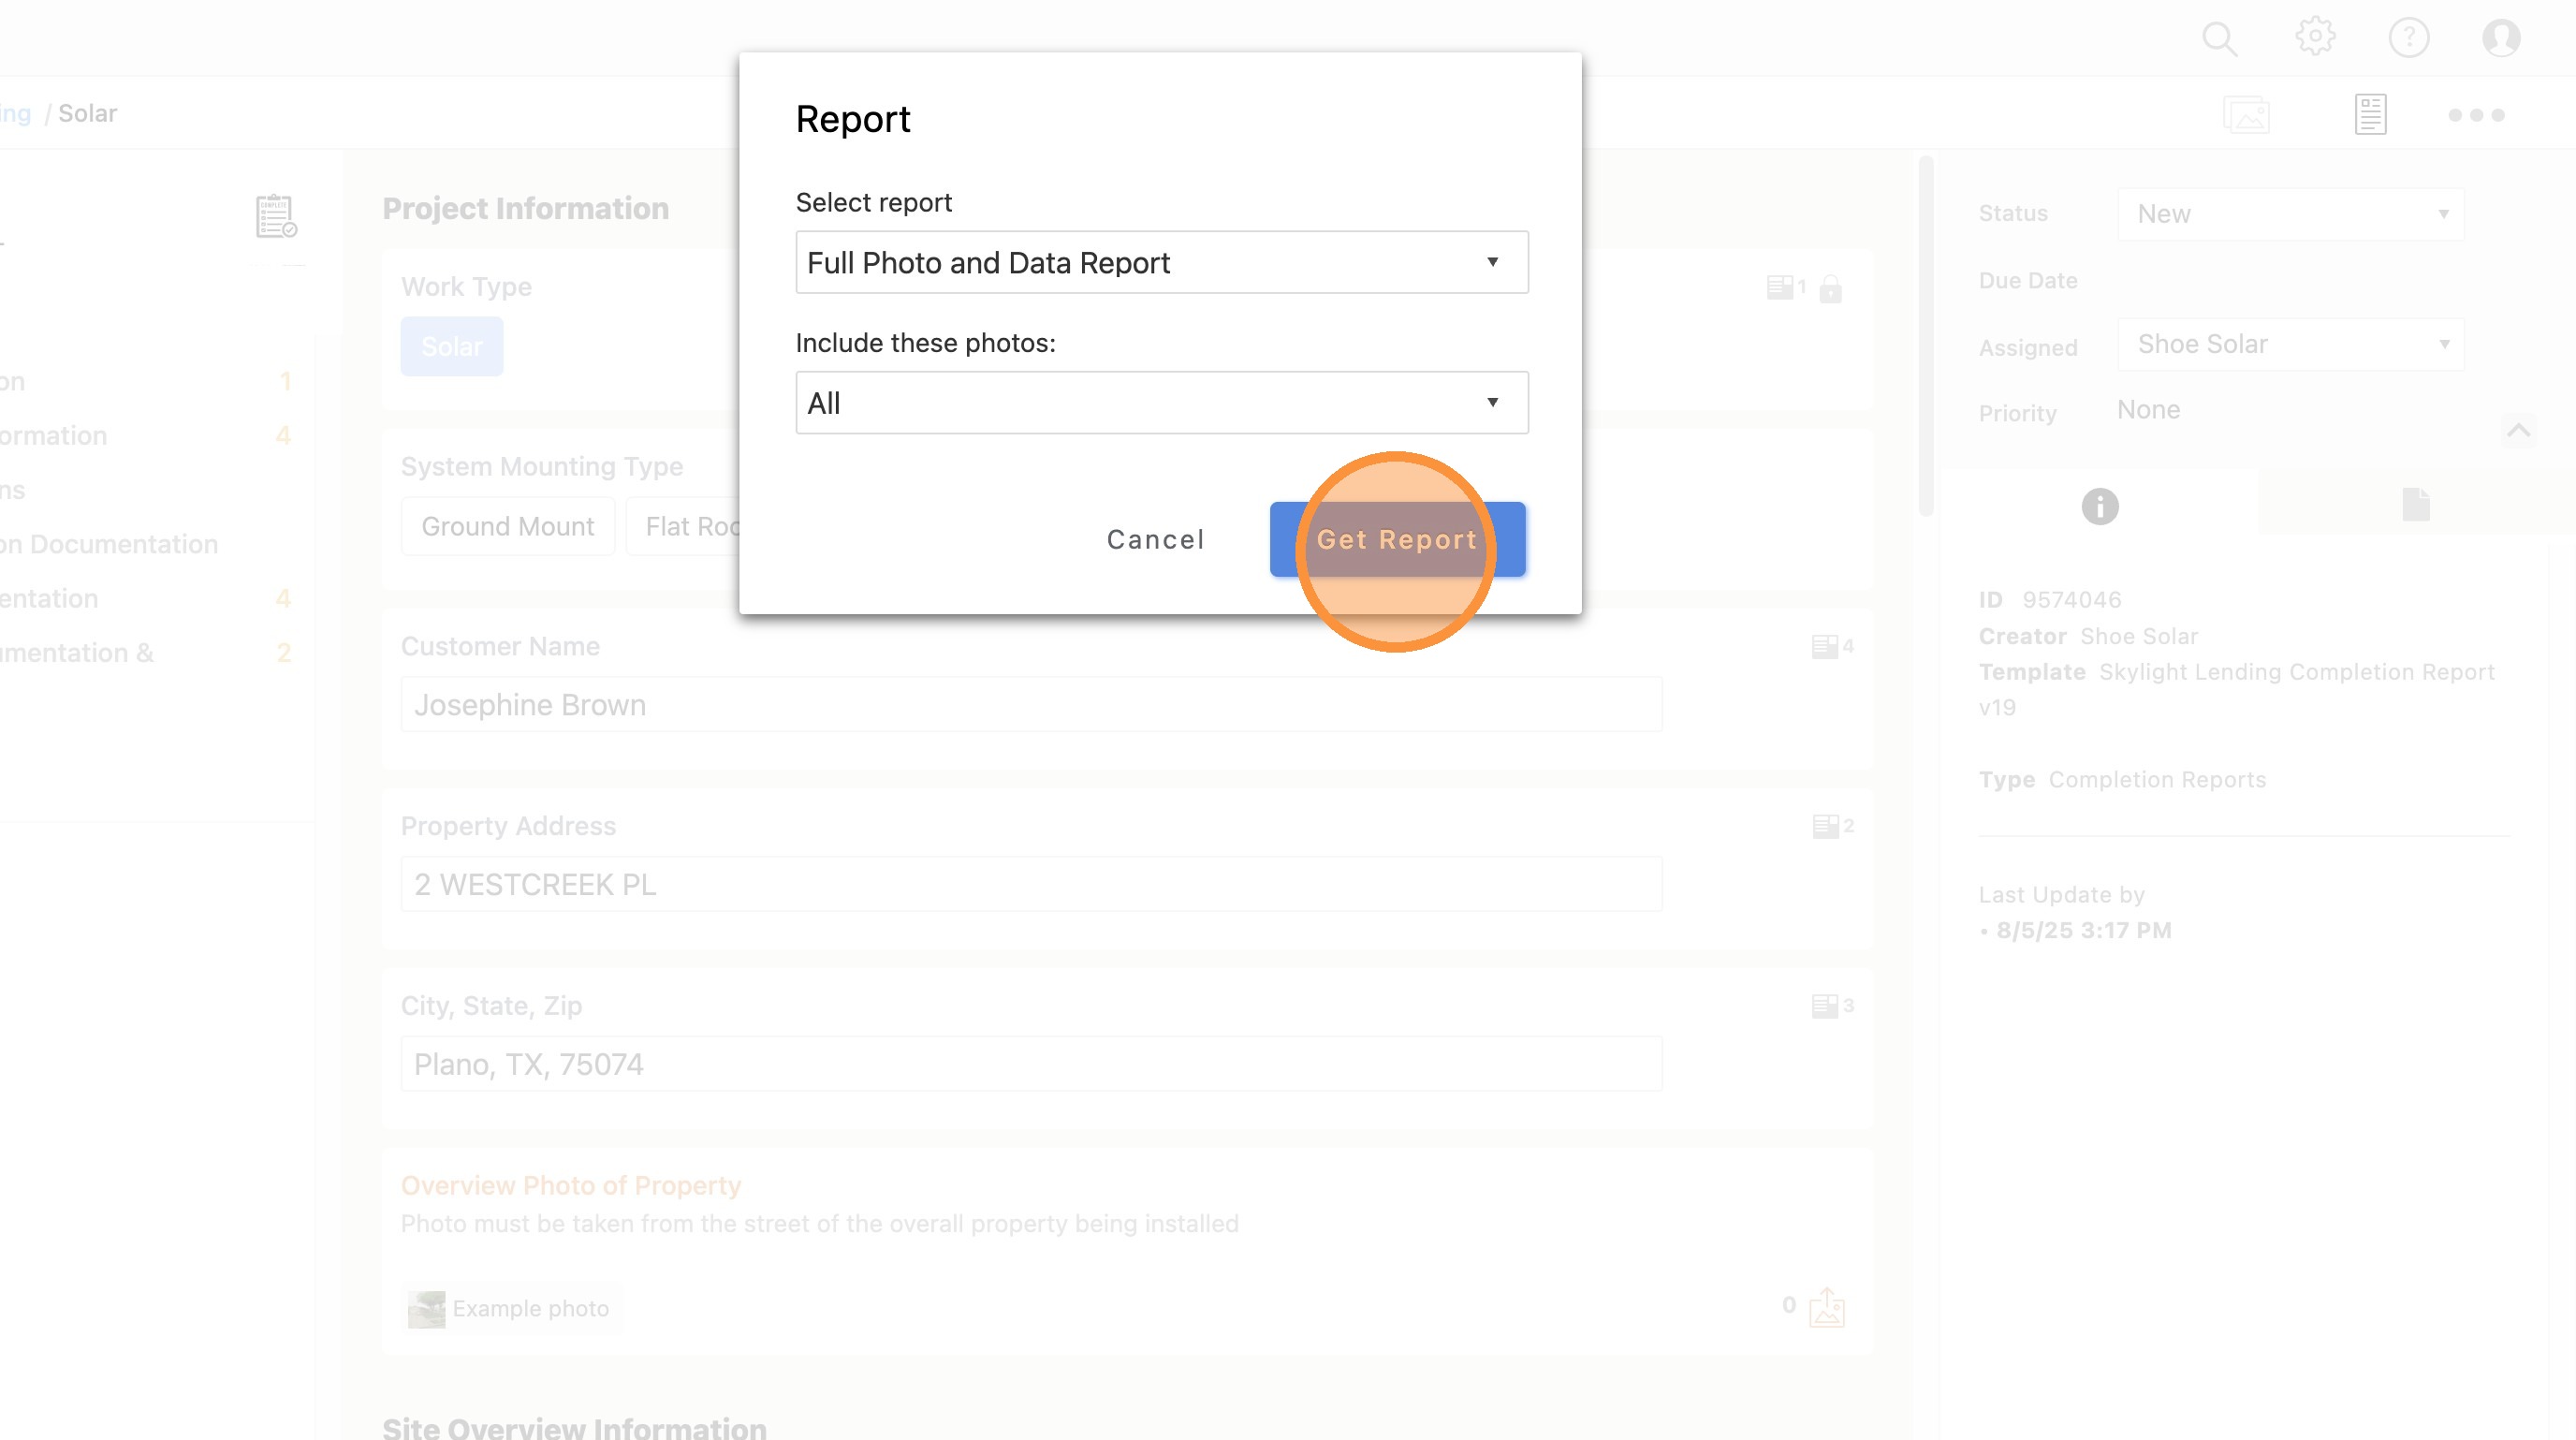
Select "Full Photo and Data" report, choose "All" photos, then click "Get Report"
Select the "Full Photo and Data" report type, make sure "All" photos are included, then click "Get Report." This generates a complete PDF report with all installation photos and system data — exactly what Skylight Lending requires for M2 submission.
Full Photo and Data report selection
Always select "Full Photo and Data"

Skylight Lending requires the "Full Photo and Data" report with all photos included. Do not select a partial or summary report — it will be rejected as incomplete.
12
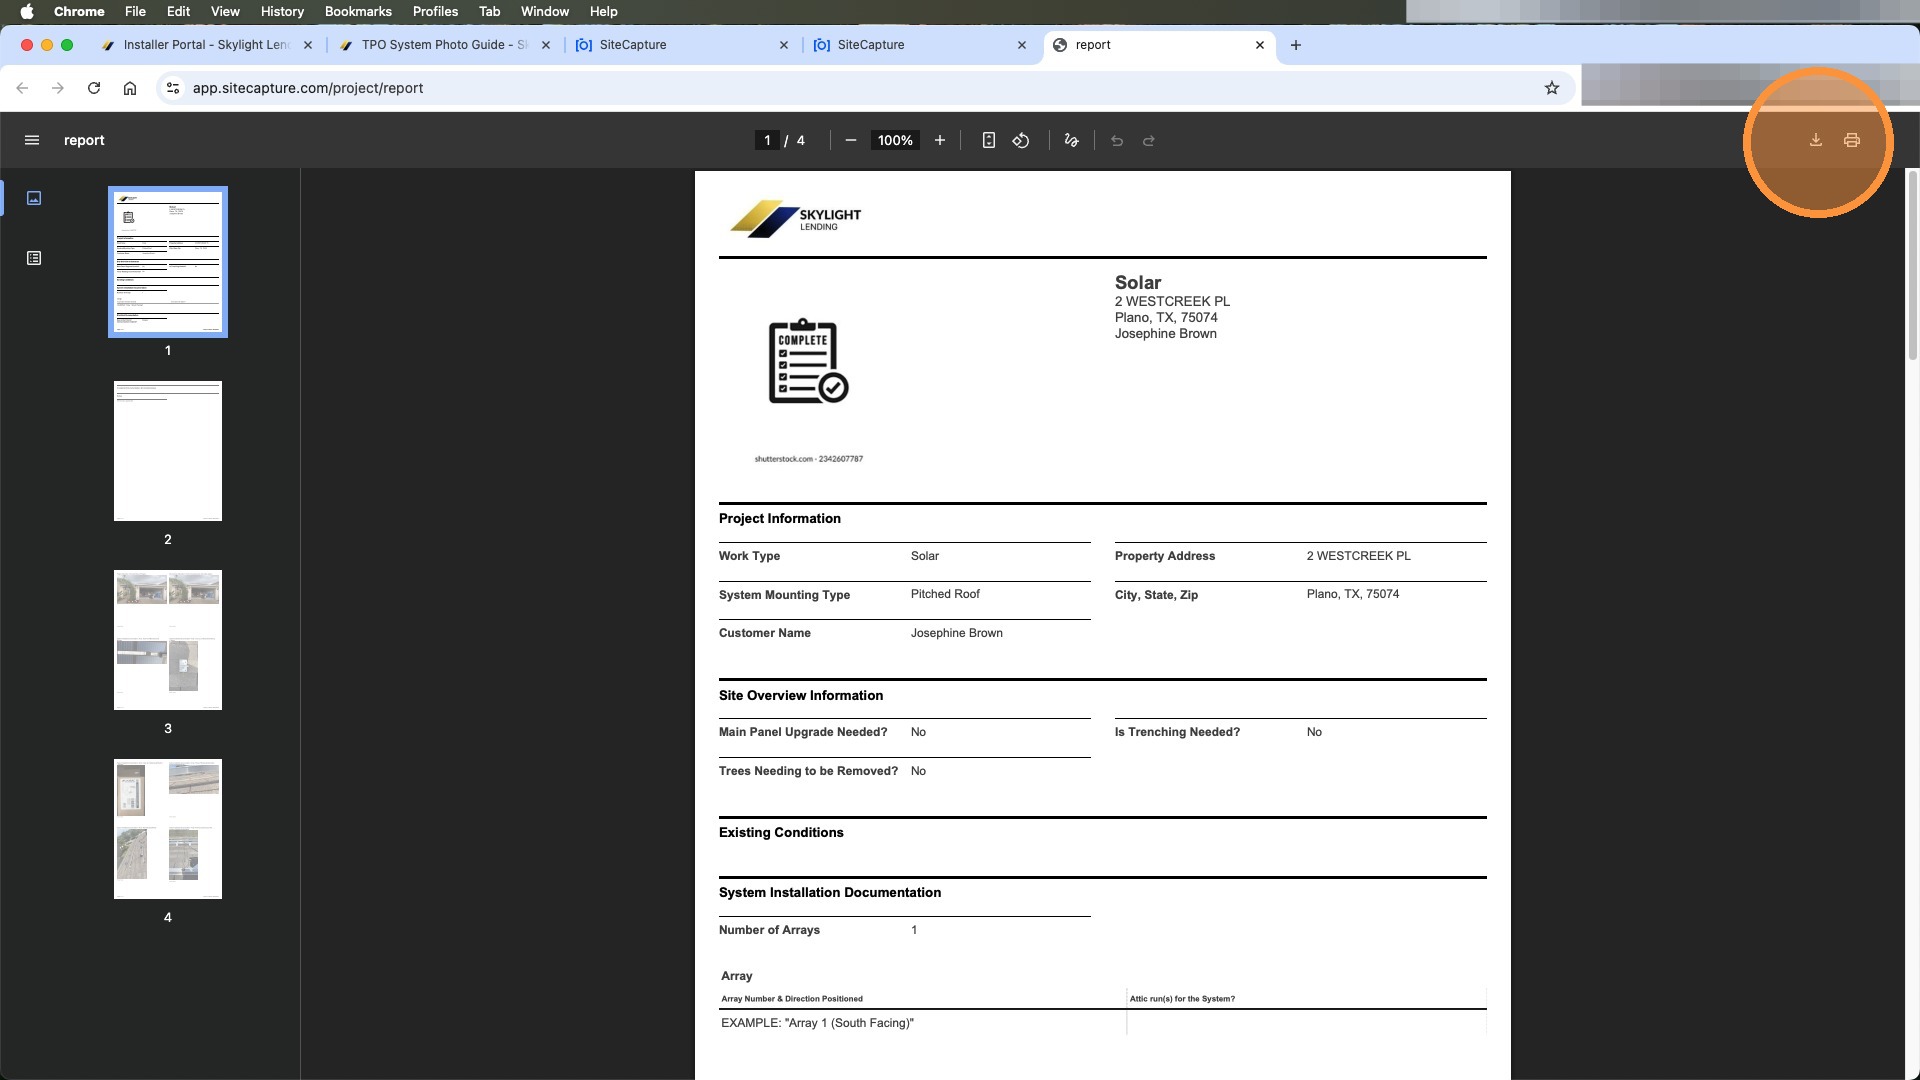
Click the Download button in your browser to download the report
Once the report is generated, click the Download button in your browser to save the PDF report to your device. You'll need this file to upload to the Skylight Lending portal in the next section.
Download report from browser
13
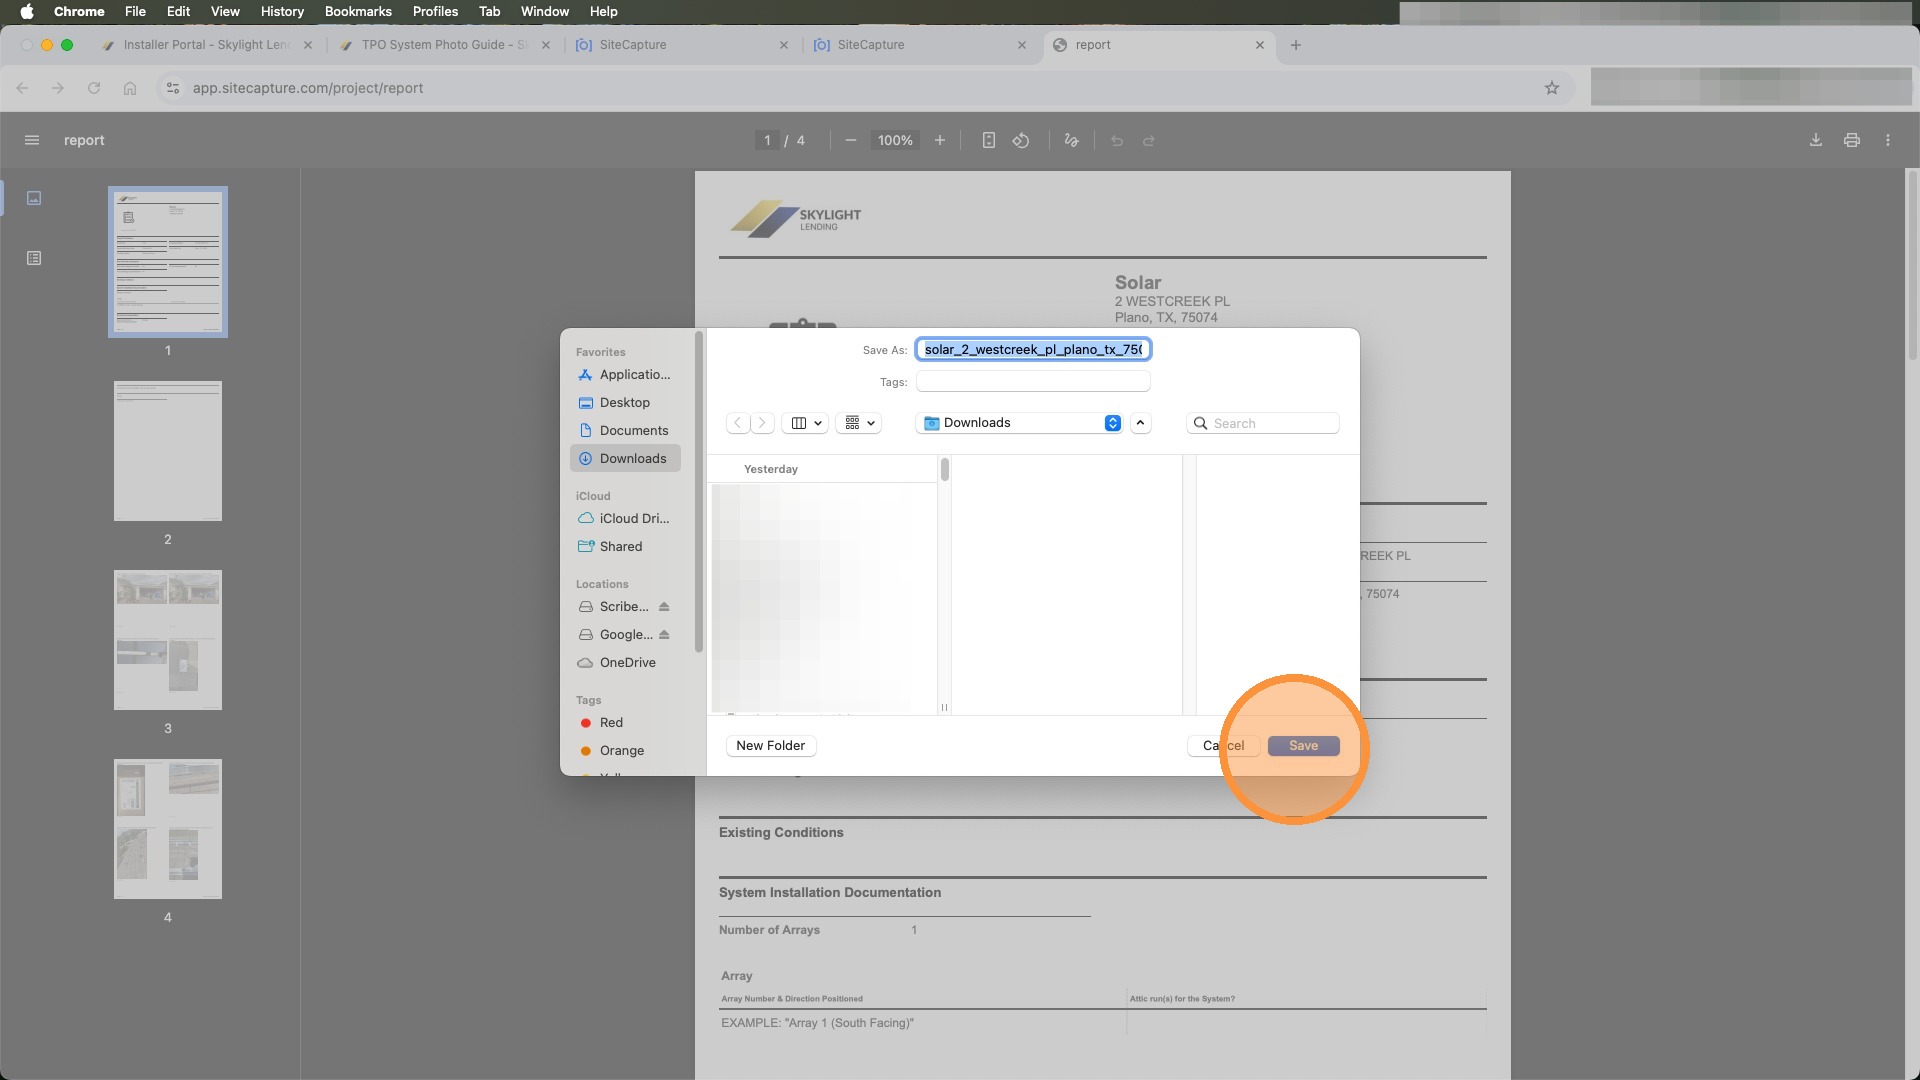
Click "Save" to save the report to your device
Choose a location on your device to save the report file and click "Save." Make note of where you save it — you'll need to locate it in the next section when uploading to the Skylight portal.
Save report file
Save somewhere easy to find

Save the report to your Desktop or Downloads folder so you can quickly locate it when uploading to the Skylight portal in the next steps.
5 steps
14
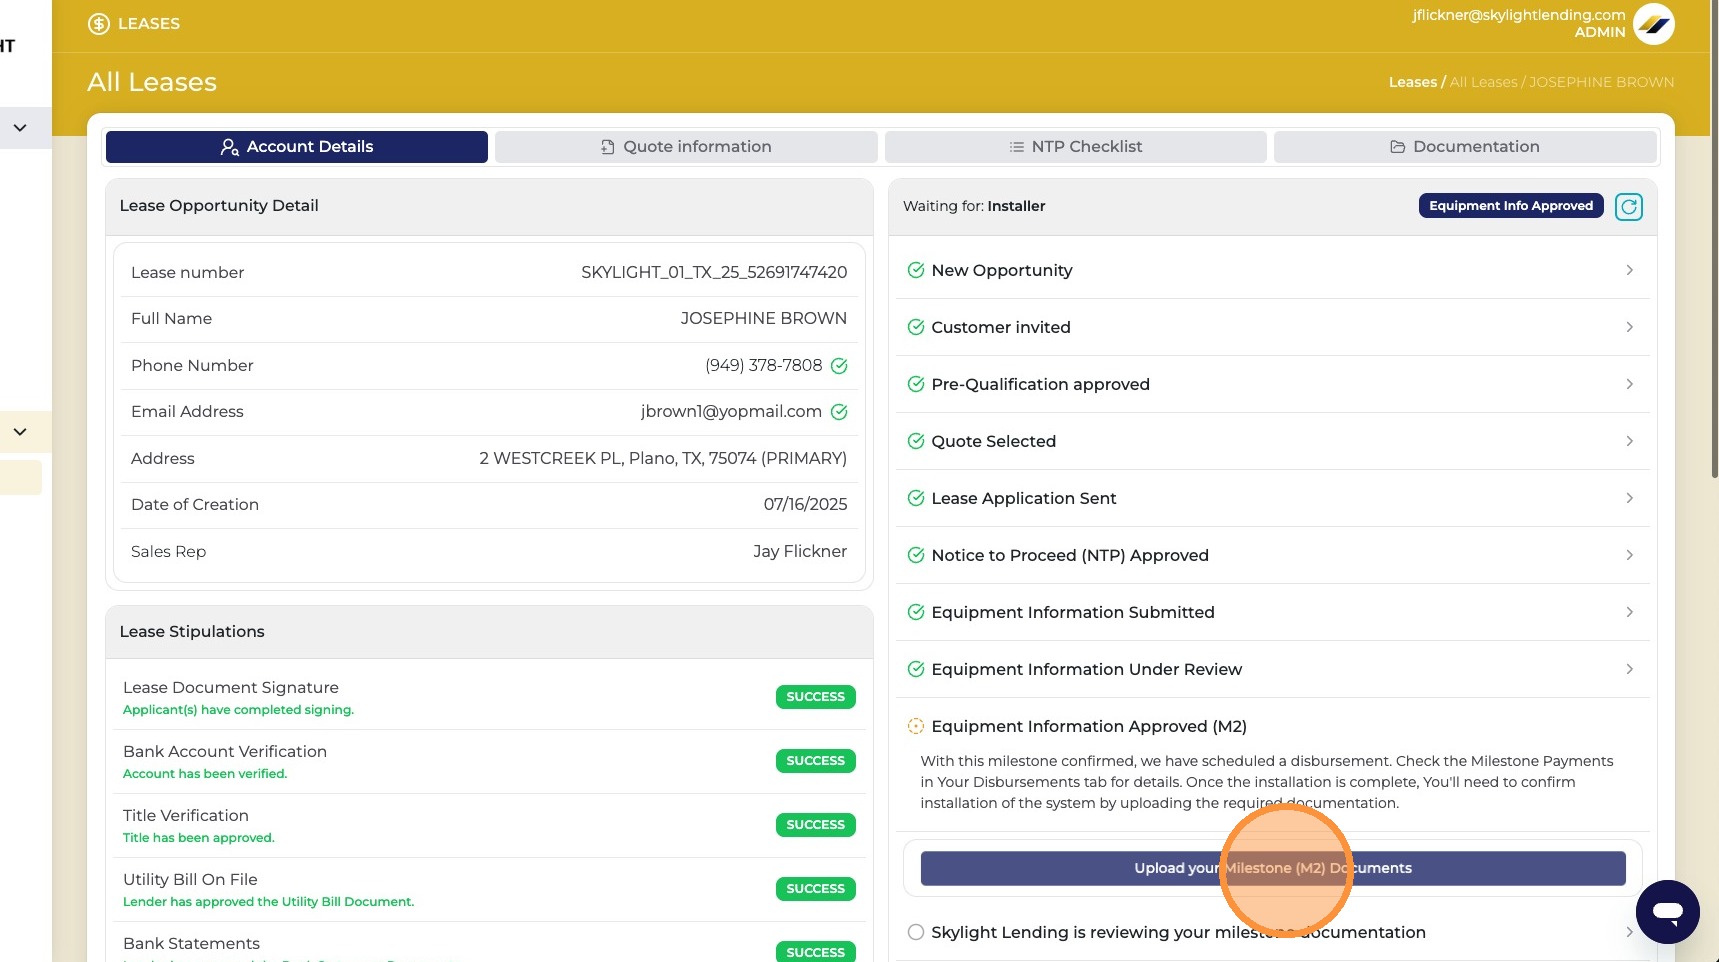
In the Account Details page of the opportunity, click "Upload your Milestone (M2) Documents"
Log into the Skylight Lending Installer Portal and open the customer's opportunity. On the Account Details page, click "Upload your Milestone (M2) Documents" to open the M2 documentation checklist.
Upload M2 Documents button
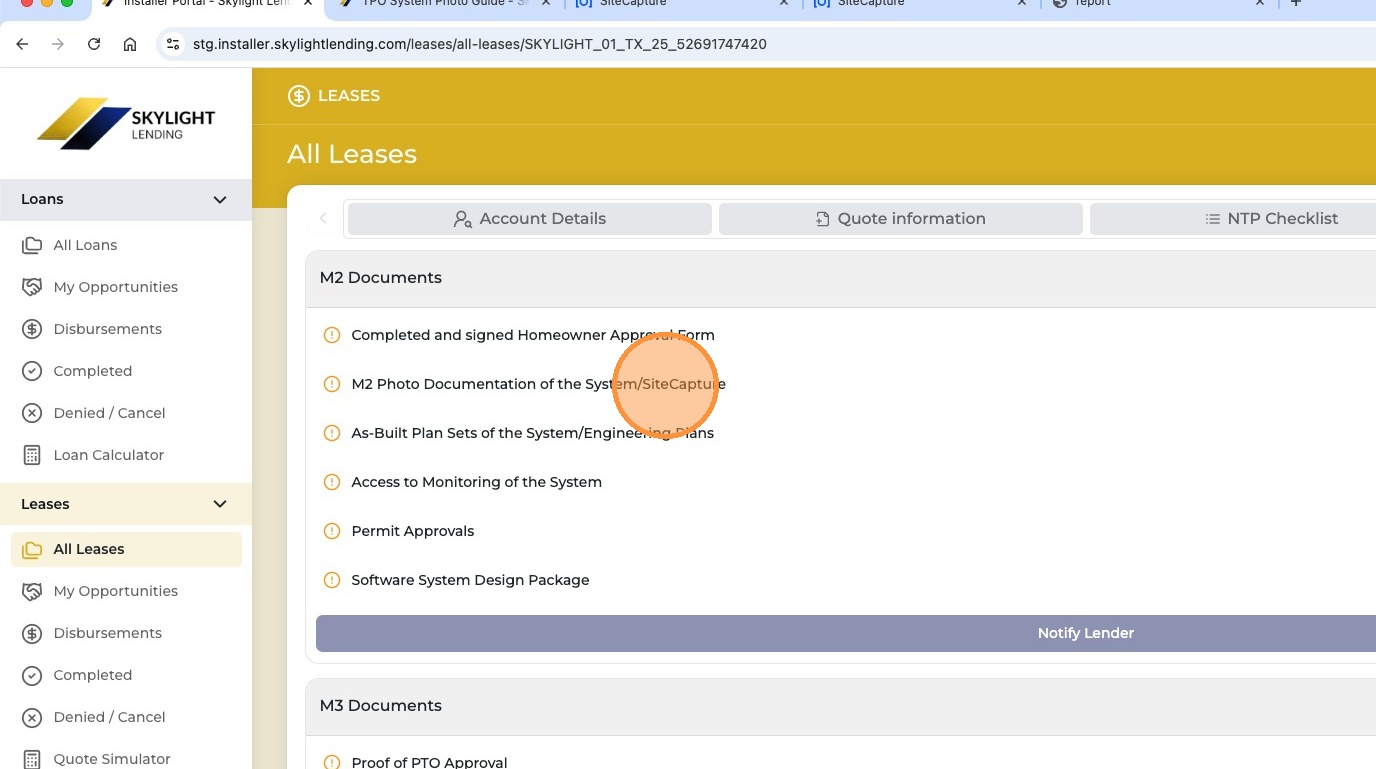
15
Click "M2 Photo Documentation of the System/Site Capture"
From the M2 document checklist, click on "M2 Photo Documentation of the System/Site Capture" to expand this item and begin uploading the completion report you just generated.
M2 Photo Documentation item
16
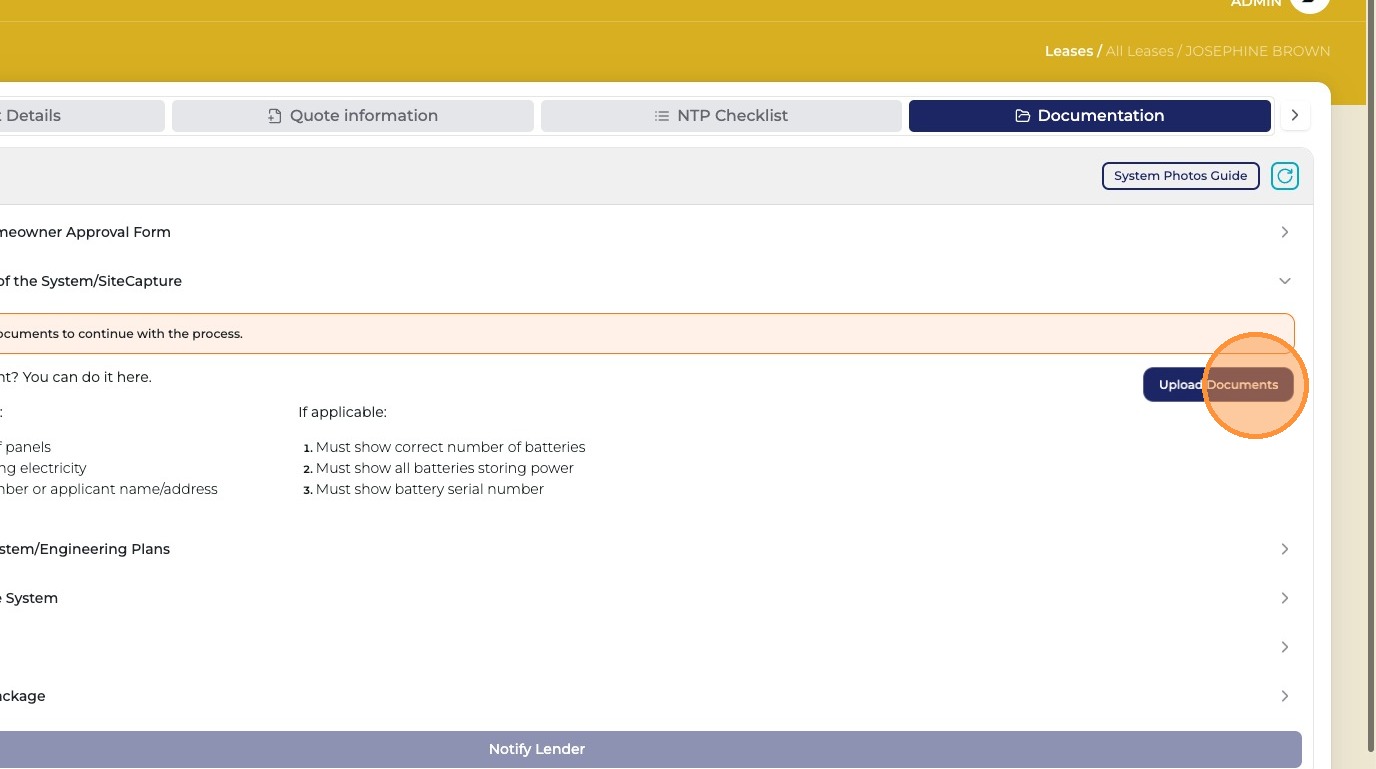
Click "Upload Documents"
Click "Upload Documents" to open the file upload interface where you'll attach the completion report PDF you downloaded from Site Capture.
Upload Documents button
17
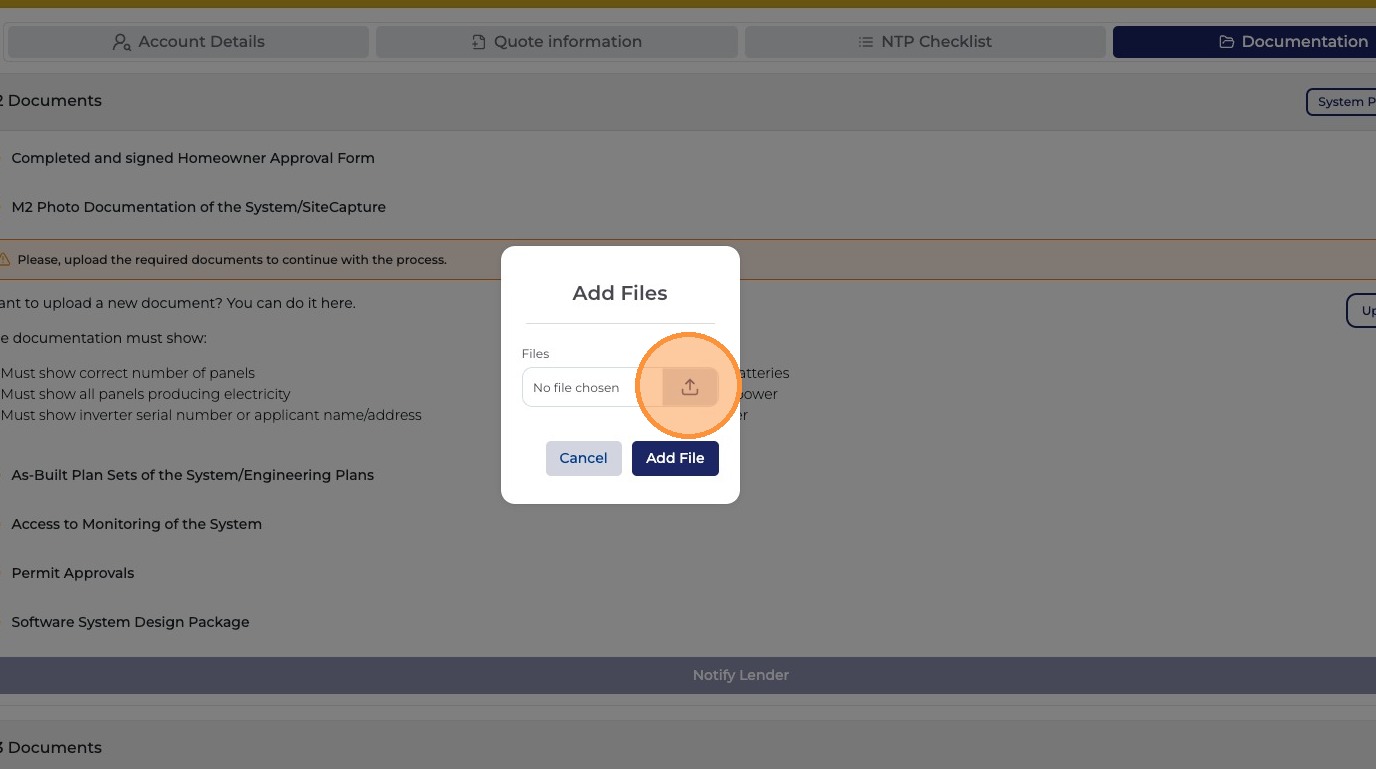
Click the upload icon to open your file browser
Click the upload icon to open your device's file browser and navigate to the completion report file you saved earlier.
Upload icon
18
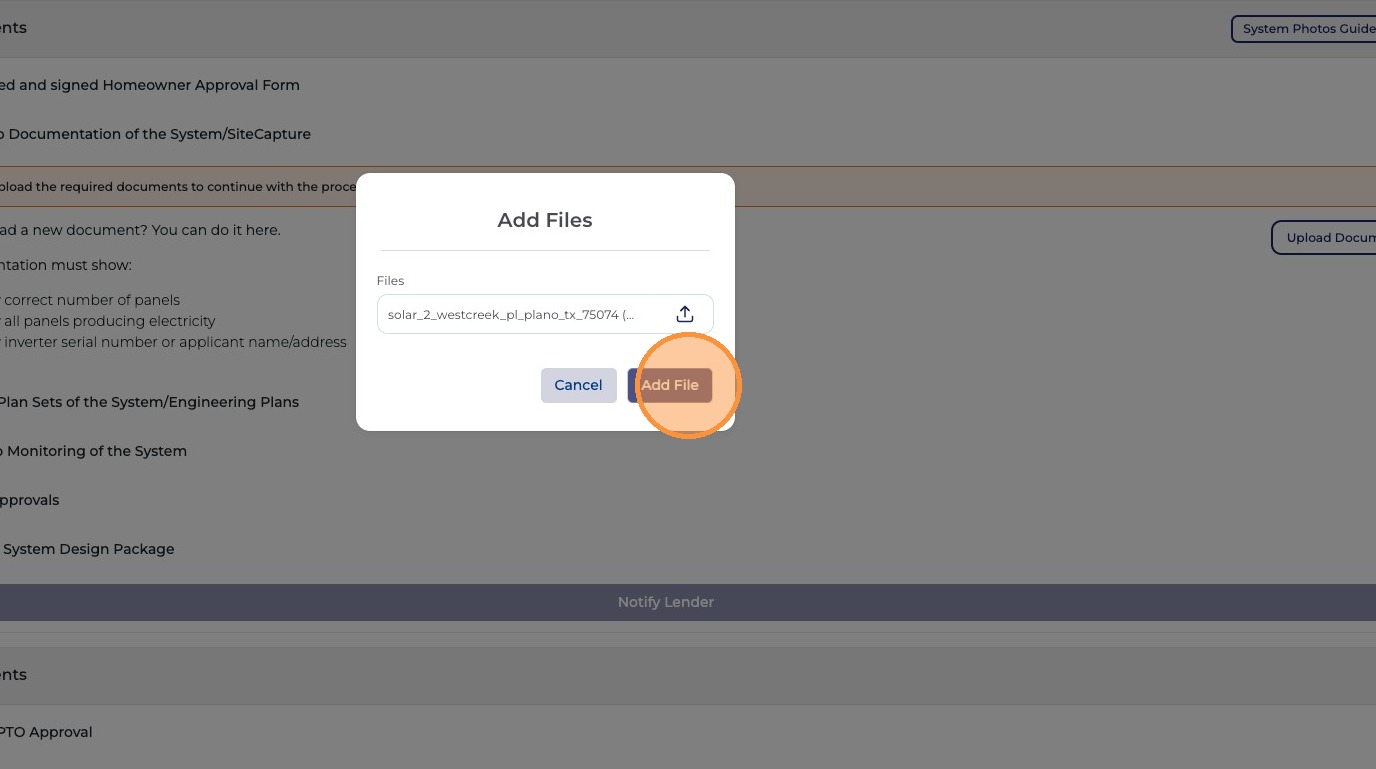
Select the file and click "Add File"
Select the Site Capture completion report PDF from your device and click "Add File" to attach it. The M2 photo documentation upload is now complete for this item.
Select file and Add File
Completion report uploaded — M2 photo documentation complete!
Your Site Capture completion report has been uploaded to the Skylight Lending portal. Make sure all other required M2 documents are also uploaded before clicking Notify Lender to trigger the milestone review and release your M2 payment.