Upload Homeowner Approval Form — Skylight Installer Guide
M2 — System installation

Upload Homeowner
Approval Form

Follow this guide to upload the completed and signed Homeowner Approval Form as part of your M2 milestone submission in the Skylight Lending portal.
2
Sections
7
Steps
~5
Minutes
How this process works
Open opportunity Go to Documentation Select form type Upload document Complete all M2 items Notify Lender
Before you upload — make sure the form is complete
Homeowner and property information matches what's listed under the Lease Opportunity Details exactly
Form has been initialed in all 4 required locations
Form has been signed by the borrower (homeowner)
Document is clear, legible, and fully visible — no cut-off sections or blurry images
System installed differently from the original design? You must submit additional documents
If the system was installed differently from the original design, you are required to submit both an "As-Built" Design and Planset along with this form. Failure to provide these updated documents will result in the rejection of your submittal.
You can only notify the lender once ALL M2 items are submitted
Do not click "Notify Lender" until every required M2 document has been uploaded. The Notify Lender button will only trigger a review when all M2 items are complete. Upload all documents first, then notify the lender in one go.
3 steps
1
Navigate to the lease opportunity
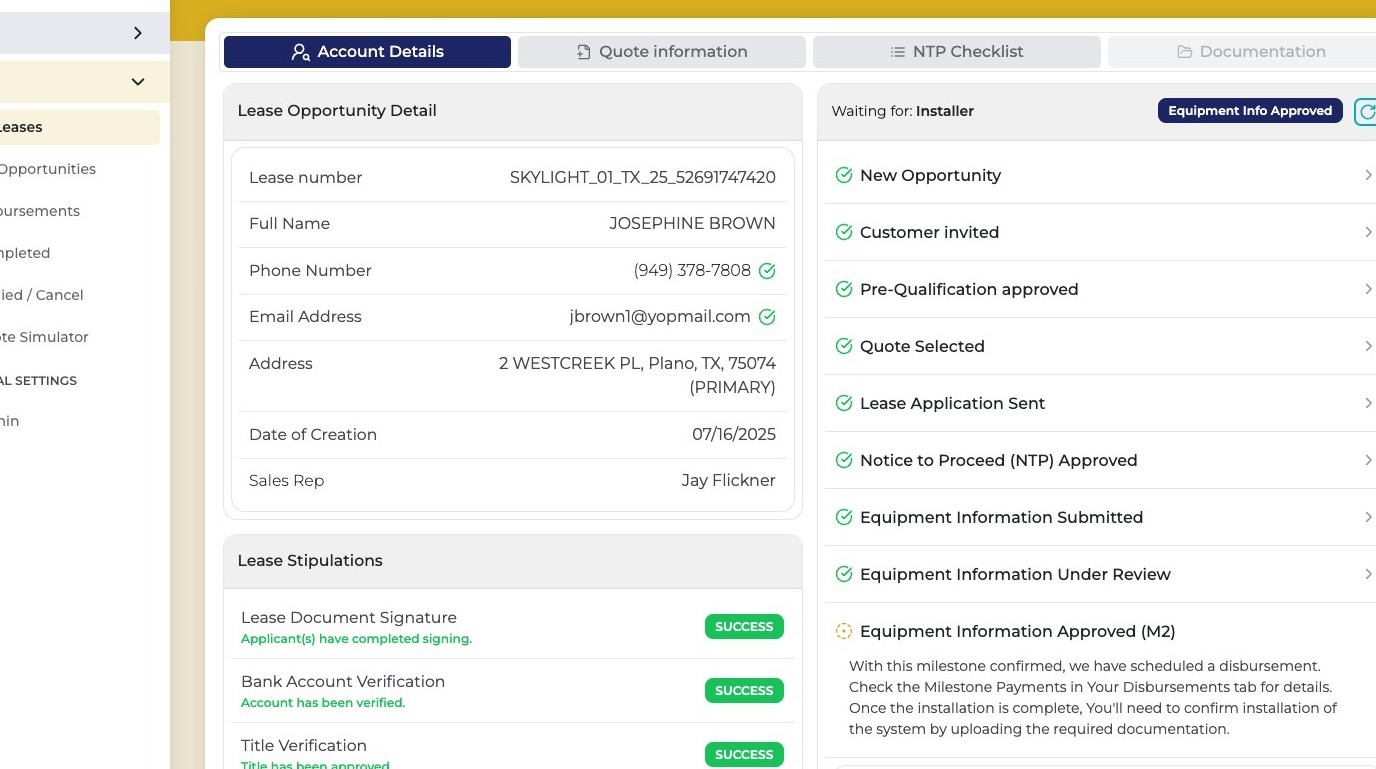
Log into the Skylight Lending installer portal and open the opportunity for the customer whose system has been installed. This is where you'll find the M2 documentation section.
Navigate to opportunity
2
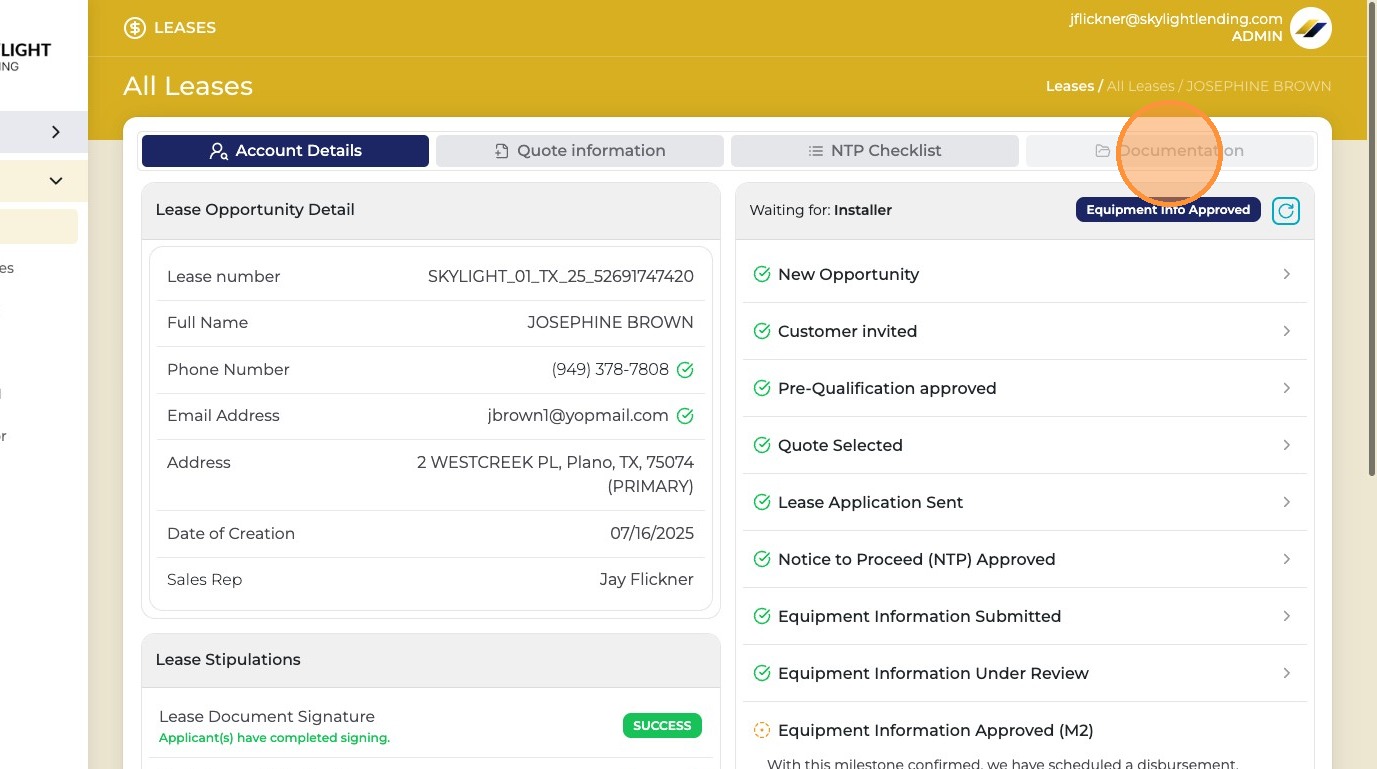
Click "Documentation"
Inside the opportunity, click the "Documentation" tab or section. This is where all M2 required documents are listed and uploaded, including the Homeowner Approval Form.
Documentation tab
3
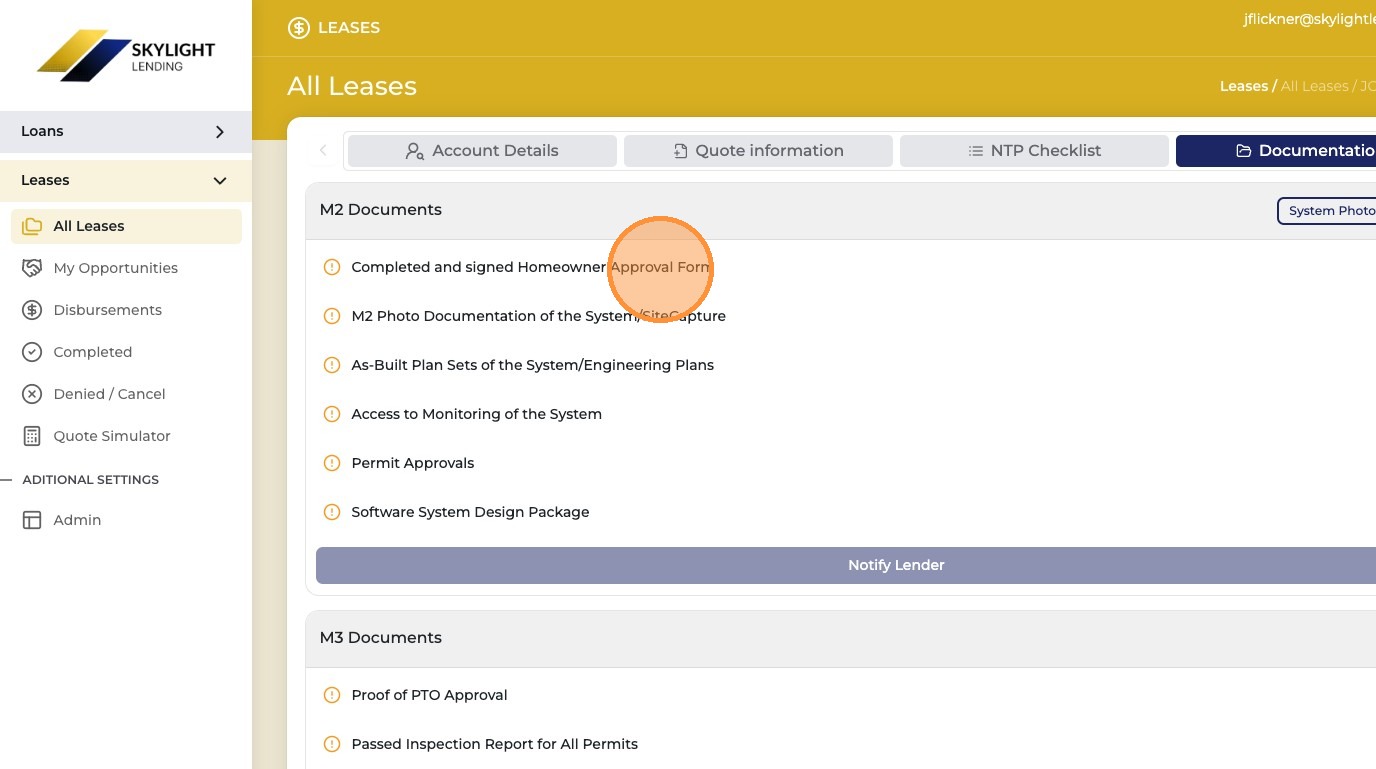
Click "Completed and signed Homeowner Approval Form"
From the list of M2 documentation items, click on "Completed and signed Homeowner Approval Form" to expand it and begin the upload process for this specific document.
Homeowner Approval Form item
Part of a larger M2 checklist

The Homeowner Approval Form is one of several documents required for M2. Make sure you complete all other M2 document uploads as well before clicking Notify Lender.
4 steps
4
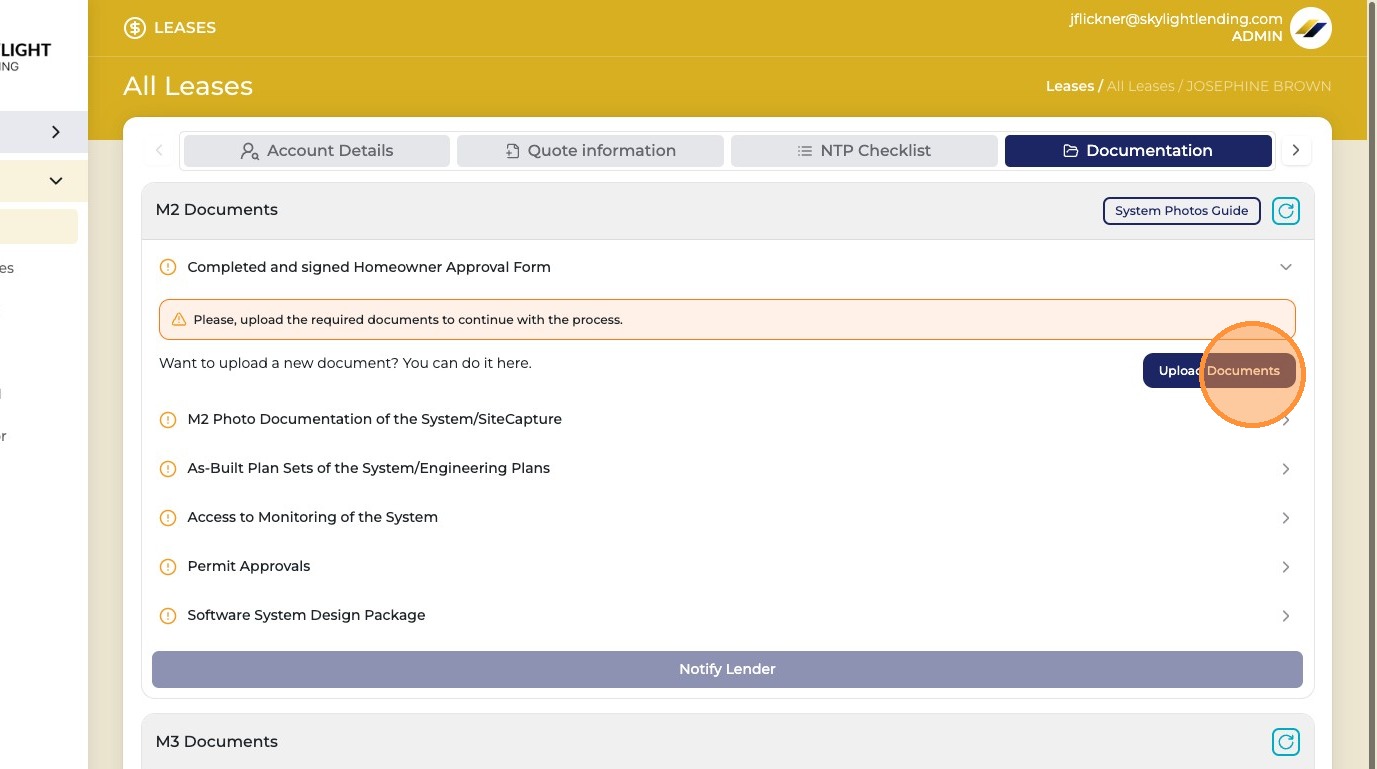
Click "Upload Documents"
Click the "Upload Documents" button to open the file upload interface for the Homeowner Approval Form.
Upload Documents button
5
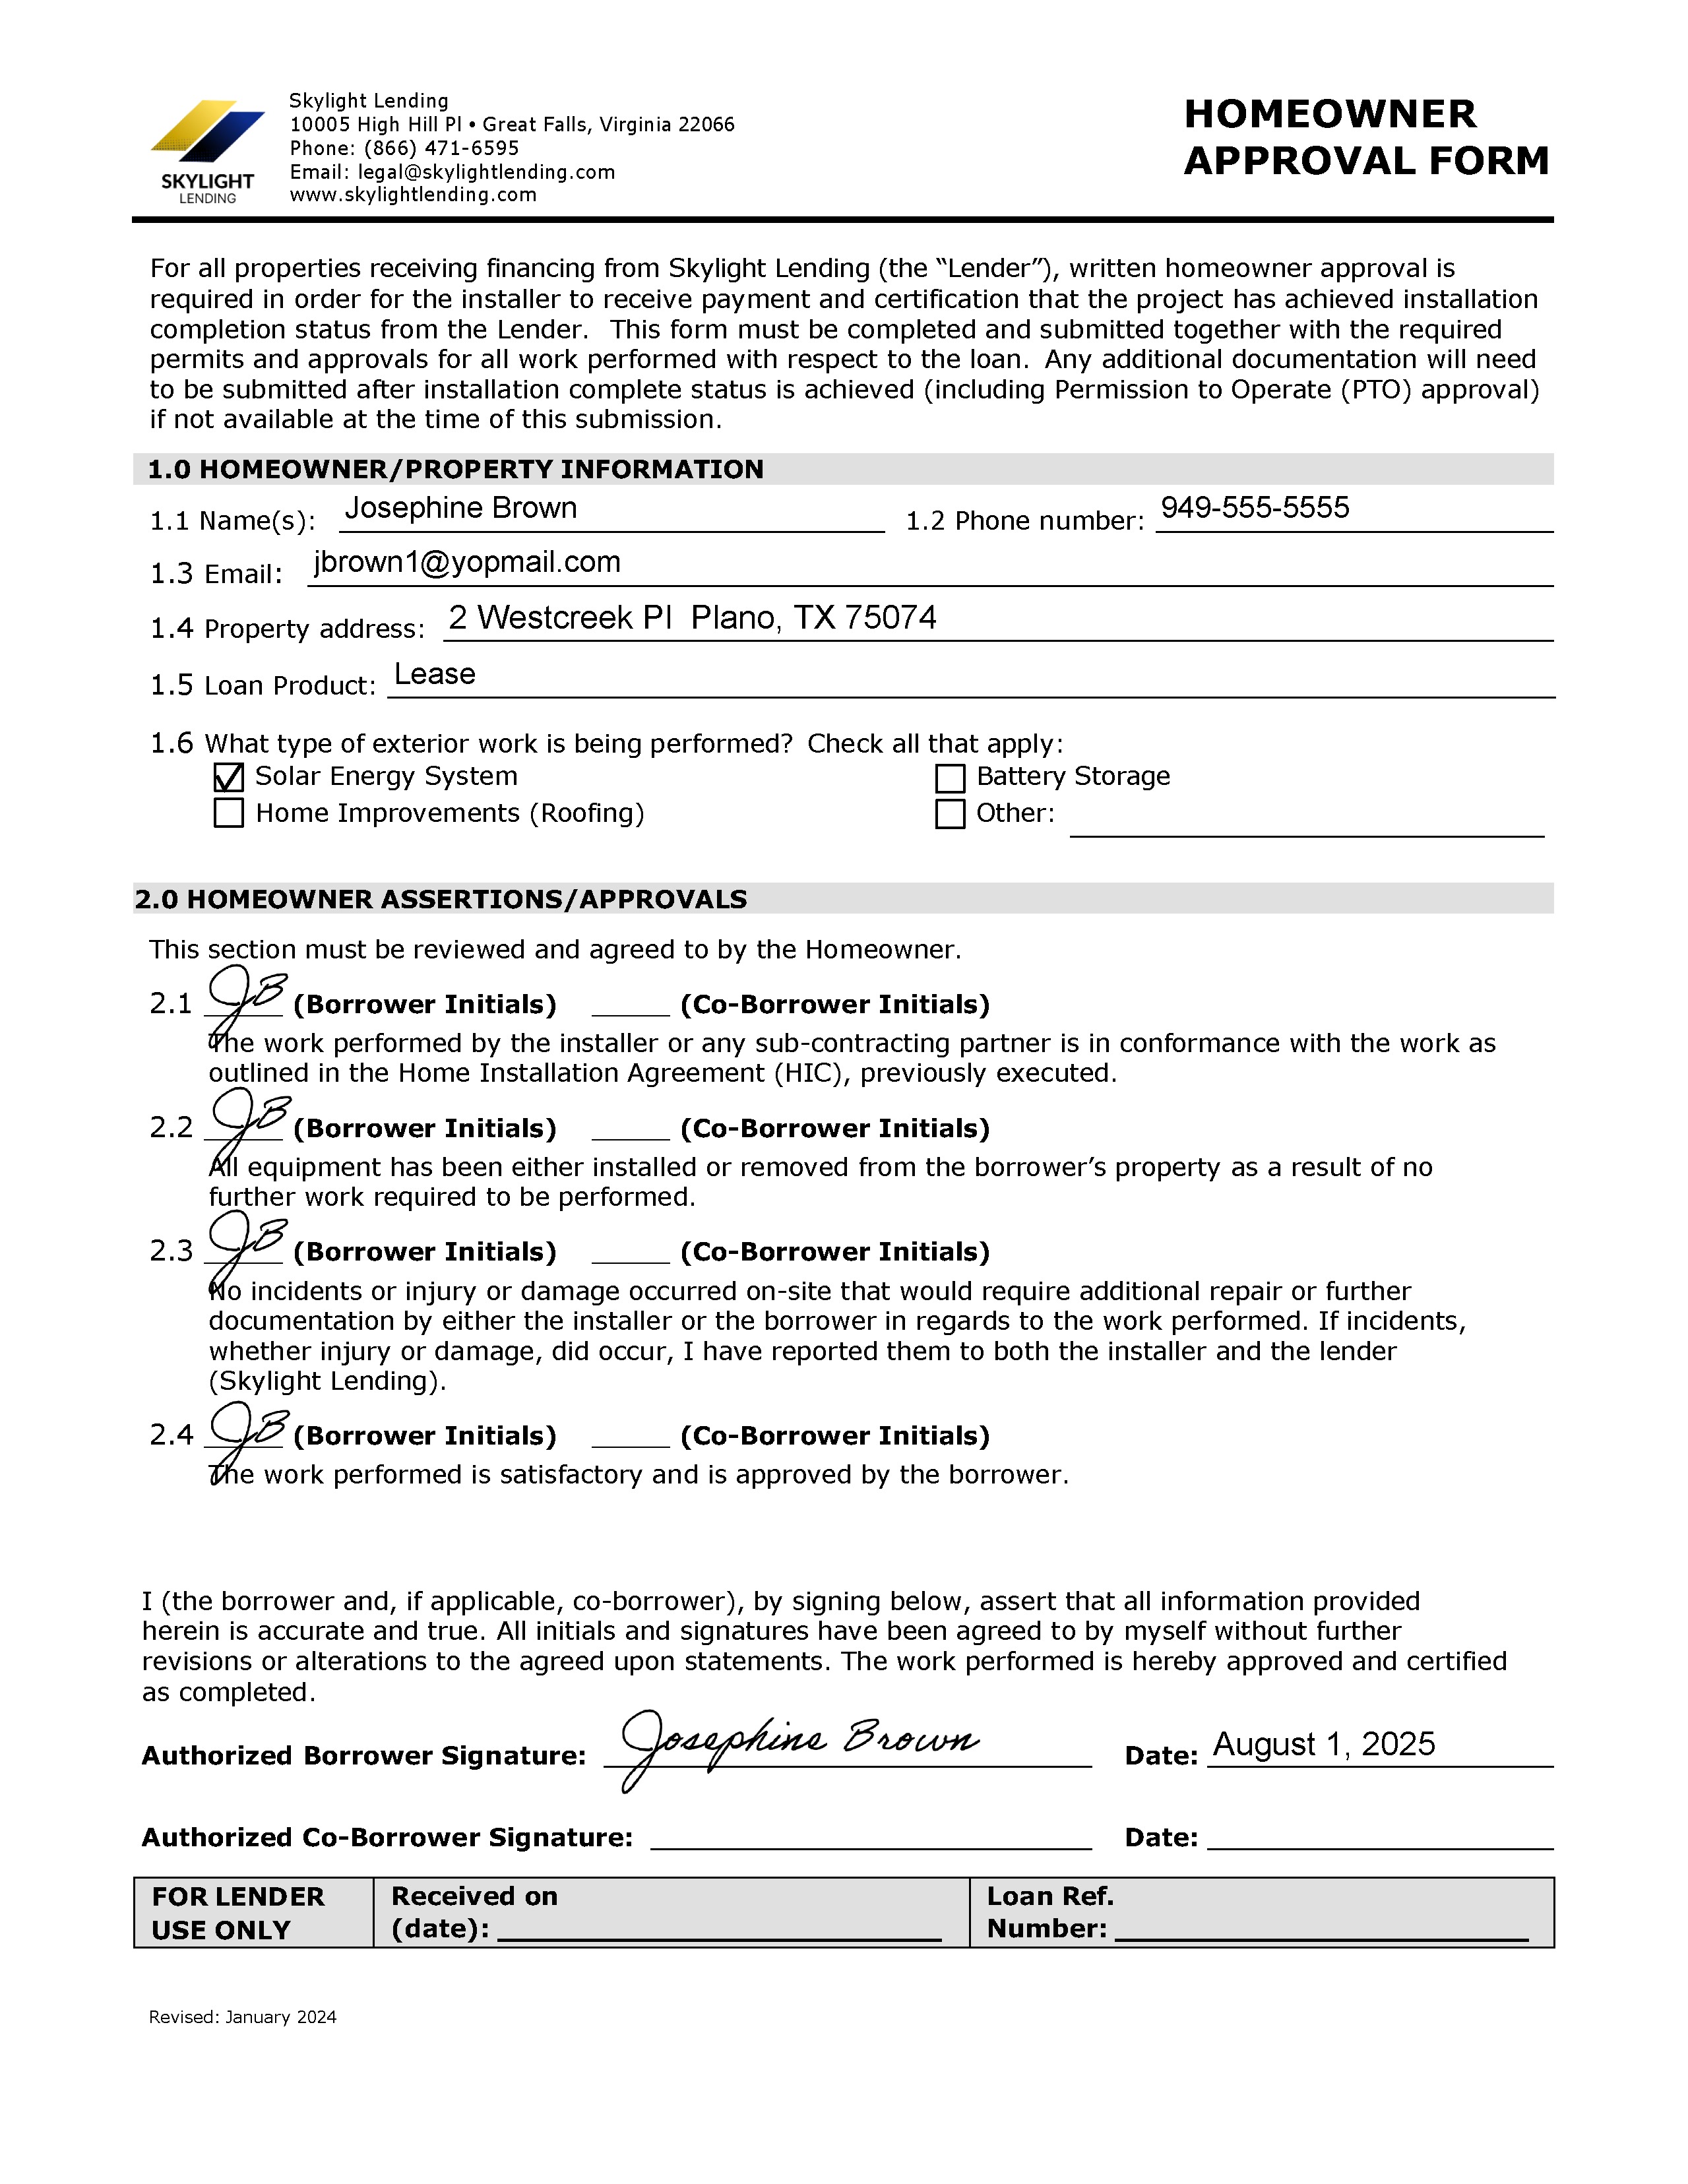
Verify the form is complete before uploading
Before selecting your file, do a final check of the Homeowner Approval Form to make sure all required fields are filled in correctly. The homeowner and property information must match the Lease Opportunity Details exactly, all 4 initials must be present, and the borrower must have signed the document.
Homeowner Approval Form example
Common rejection reasons

The most common reasons this form gets rejected are: information doesn't match the lease opportunity, missing initials in one or more locations, or the borrower's signature is absent. Double-check all four initials and the signature before uploading.
6
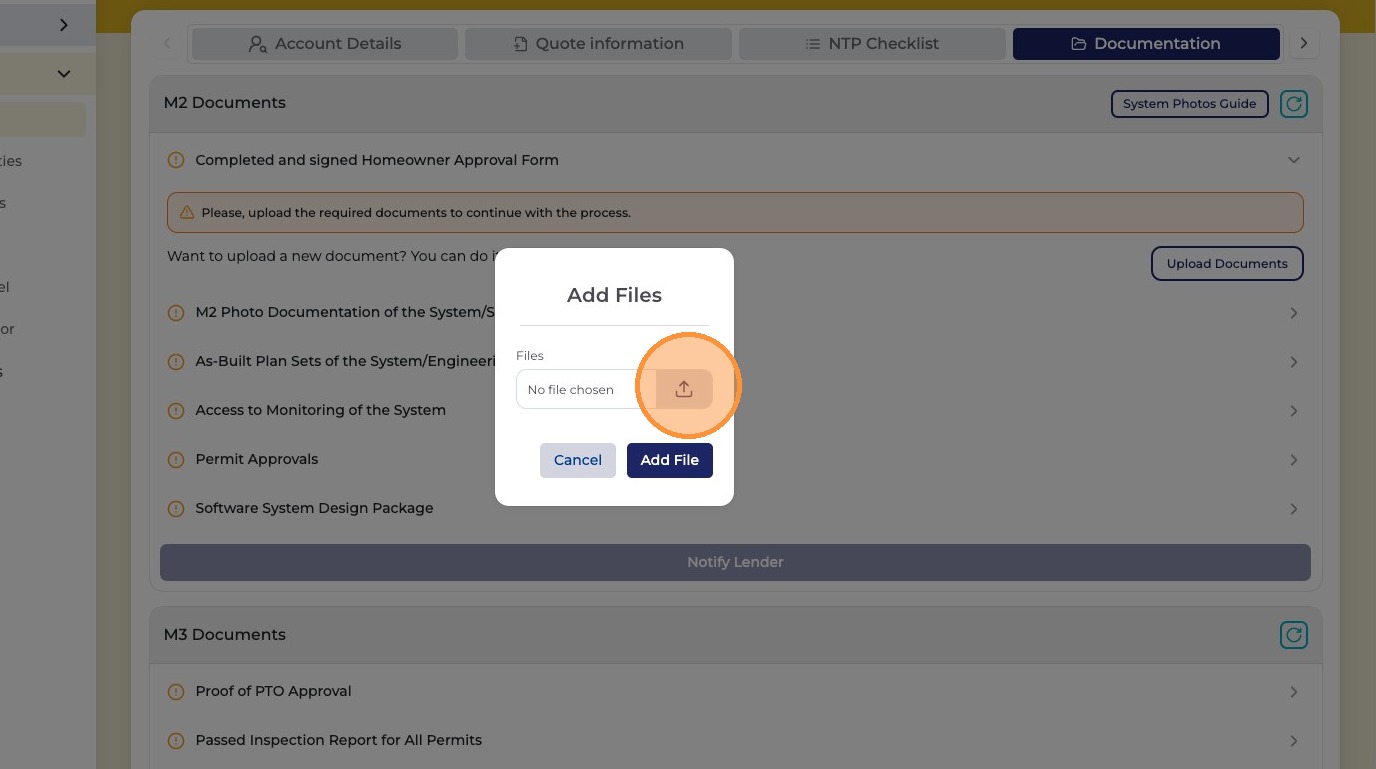
Click the upload icon and select your file
Click the upload icon to open your device's file browser. Navigate to and select the completed Homeowner Approval Form file — this can be a PDF or a clear photo of the signed document.
Upload icon
File quality matters

Make sure the uploaded file is clear, fully visible, and not cut off at any edges. Blurry or incomplete images will be rejected and you'll need to resubmit.
7
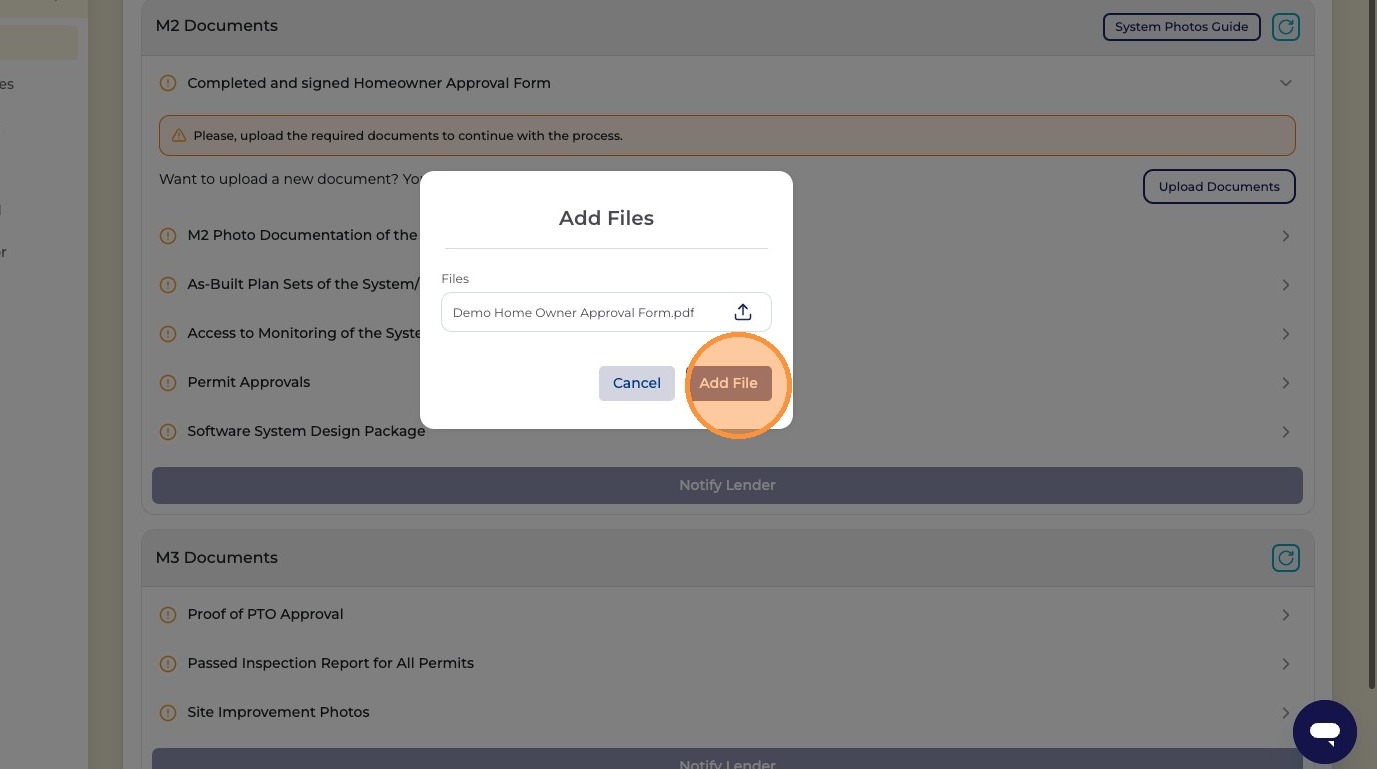
Click "Add File" to complete the upload
Click "Add File" to attach the Homeowner Approval Form to this M2 documentation item. The upload is now complete for this document. Remember — do not click Notify Lender until all other M2 documents have also been uploaded.
Add File button
Don't notify lender yet

Only click "Notify Lender" after ALL M2 required documents have been uploaded — not just this one. Submitting a partial M2 package will delay your review and milestone payment.

Homeowner Approval Form uploaded!
This M2 document is complete. Make sure all other required M2 documents are uploaded before clicking Notify Lender. Once the full M2 package is submitted and reviewed, your M2 milestone payment will be released.